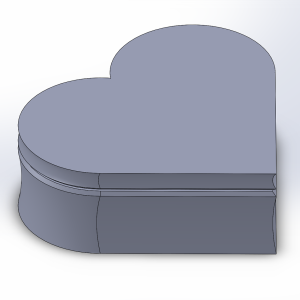
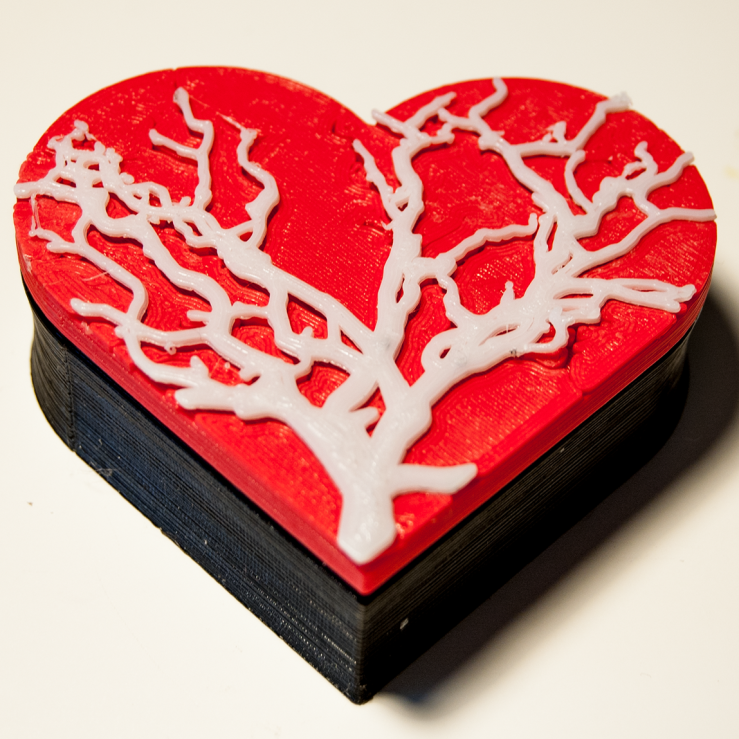
I have a younger sister, who has been asking me for a 3D printed heart for quite some time. So, I decided to put her asking to rest, and make her a box shaped like a heart for her Christmas present.
I got to SolidWorks, put together a simple assembly. I thought it would
in solidworks
look nice to have a tree branch shape cut out of the lid to the box, so I did just that, by opening Tinkercad, importing an SVG of a tree silhouette, and performing a boolean operation to remove the tree branch from the lid. After that, I was ready to print. With my little remaining red filament, I printed the lid. After, it was time for the actual box portion, which I printed in black, to give some nice contrast. I printed out the branches in white, so as to give the illusion of a multicolored print. Overall, I am very happy with the result.
The other day, my dad comes in my room, urgency in his voice, and worried eyes that told me more than just something was wrong. He bursts through the door, a single tear streaming down his hardened jawline. In a defeated tone, he tells me, “Son. I have a project.”
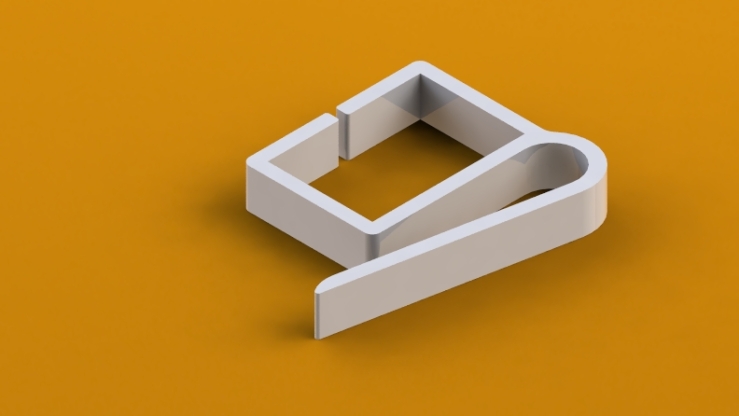
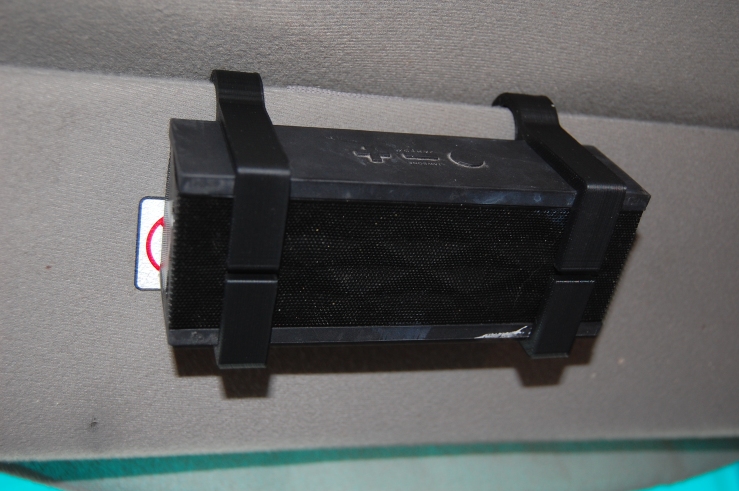
Okay, so it wasn’t that intense, but, long story short, my dad requested I design something for him. This was a welcomed proposal, as I have been trying to design as many things as possible for practicing SolidWorks (the robotics team I am a member of uses SolidWorks, rather than Autodesk Inventor, which I had grown accustom to). Basically, he wanted something to clip his Jawbone Jambox to his car’s sun visor. See, he has an older car, meaning there is no audio input to convert his phone’s devious pulses of energy into compressions of our atmosphere which we perceive as something called “music.” I know, science is crazy.
So, with my trusty five-dollar calipers, I got to work measuring the conveniently rectangular-shaped speaker. And in some time, I had for him what he wanted. And, it was a pretty nice design, might I say. I printed two of these clips for attaching the speaker to his car’s sun visor, and it works surprisingly well.
The time has come–I’ve blown up my Arduino. It’s a sad day for any newbie, hobbiest, or professional when their pride and joy decides to stop working. The thing is, it could have been prevented, and I just failed to take the proper care in order to preserve the fine balance of sort of working sometimes to not working at all.
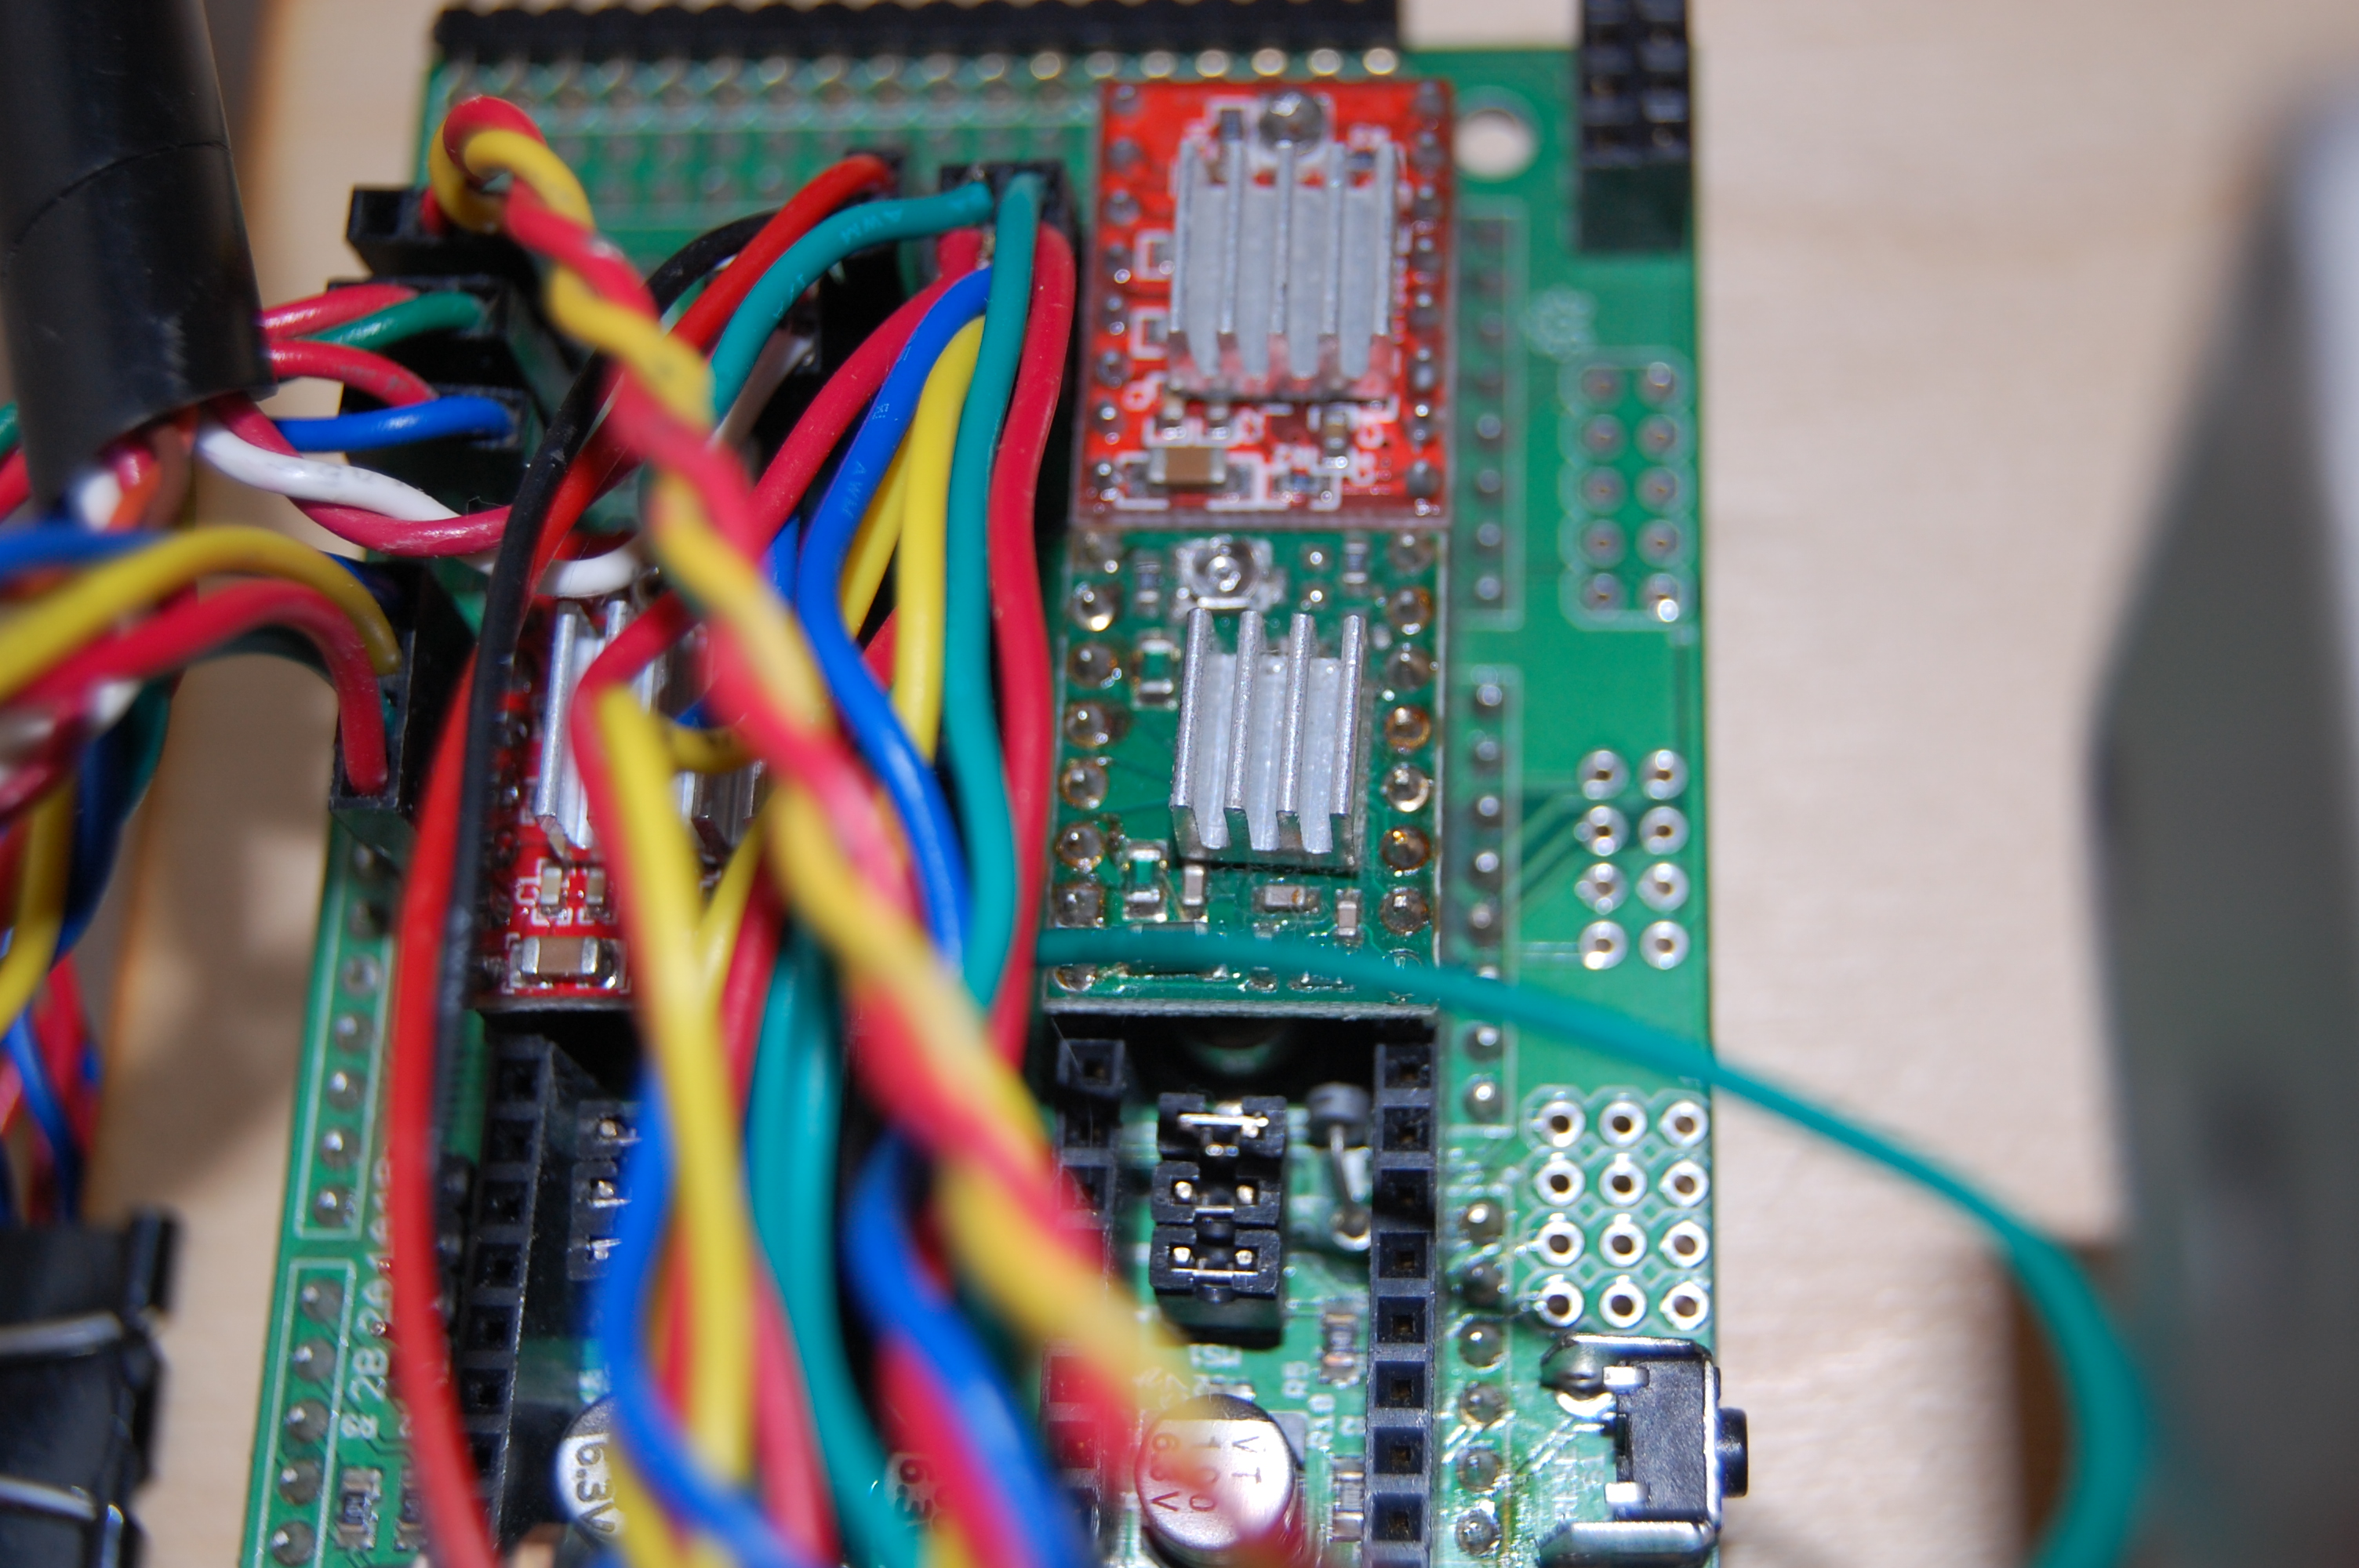
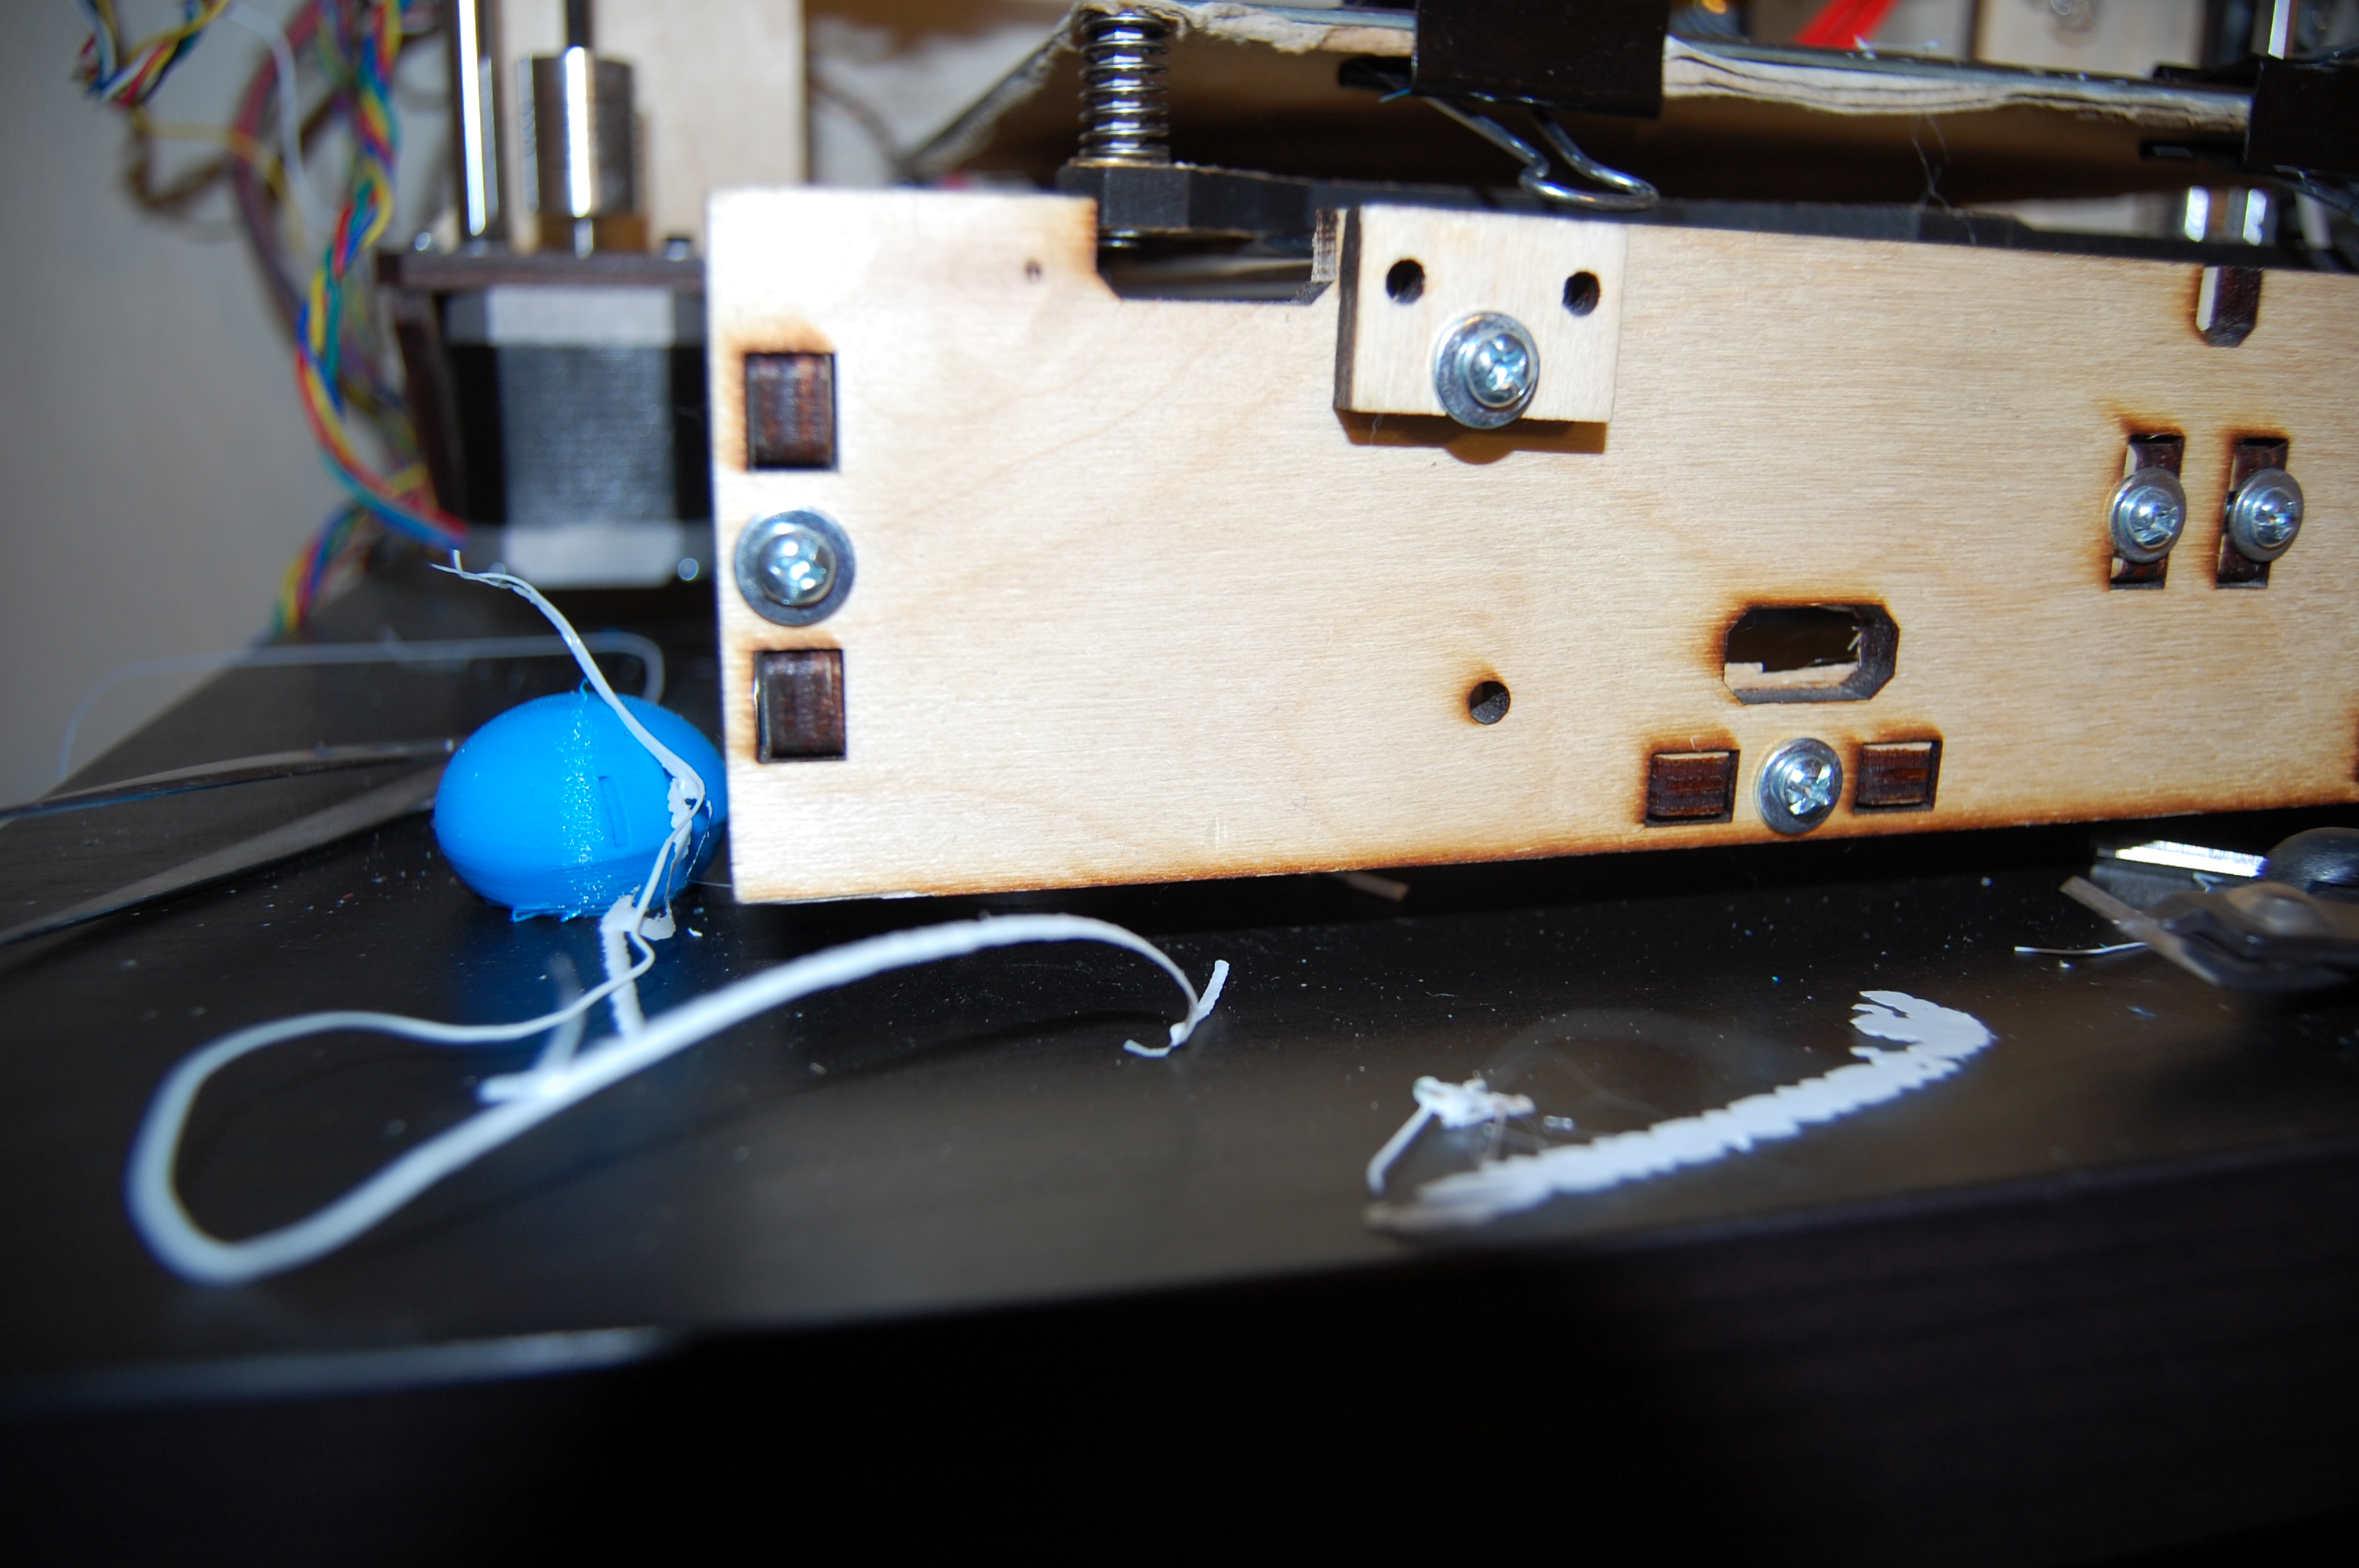
For the past few days, I’ve been having some problems with driving the steppers on my X and Y axis. I suspect the drivers are close to blown. But anyway, prints have been leaning in both directions, so I decided to tune the trimpots on the driver boards. This seemed to fix the leaning for a bit, but during another print, the leaning started again. So, I decided to replace one of the drivers. This probably would have fixed the problem–had I plugged in the driver the right way.
Yeah, point, laugh, I deserve it. I made such an amateur mistake! Normally, the drivers should be flush with one another, so that they plug in the right way; however, it being early in the morning when I was working on the printer, I lacked the cognitive ability to make sure of such things. I plugged in the driver the wrong way, with the two pins on the very end of the board hanging off of the header. This killed the Arduino the RAMPS was plugged into. No power LED. No detection from each of the three computers I tested it with. All disappointment.
this thing has caused me hours upon hours of stress–further proving my point that the printer hates me
I knew it was time to purchase a new controller board. To Google, I went, to research the best controller for my poor little printer. The Smoothieboard is an interesting character, with its ARM processor, which negates the need to run OctoPrint from a separate computer; however, its price is less than appealing. I then turned to the Printrboard, but its lack of separate stepper drivers was a bit of a terrifying prospect, as I have a tendency to fry drivers (see previous paragraphs). The Sanguinololu was the next option. But I was unhappy with its lack of support for a heated bed, which I’ve become accustomed to. My final decision, I feel, was made purely out of convenience: I turned back to the RAMPS. It’s outdated, I know, but, because of its cheap price (of course, without an official Arduino), I couldn’t say no. I found a kit on Amazon which included a RepRap Discount Full Graphic Display, along with some extra drivers, which I will keep as a nice extra, as well as a clone Arduino board. In addition, I bought some new stepper drivers (this time, the DRV8825, as opposed to the A988, for its quieter sound and all around shiny newness).
My new board and drivers are in the post, and should soon be in my sweaty palms, as I wait in nervous anticipation to get this thing up and running again. Stay tuned!
The other day, I had a thought. Now, I’m not sure where this thought came from, but nevertheless, I thought it: I should design a pill case. Such an unappreciated thing, the pill case. Useful for storing a variety of things, like screws, mints, or I suppose change, in a pinch. While at first, this thought was kind of strange–I mean, why would I design a pill case of all things–I figured I’d give it a shot.
As is the first step in any project, it was necessary to decide how exactly I wanted the pill case to look. I decided round was the best option, as this would allow for an all-around cleaner look. Next step was to decide through which mechanism to release the contents. The first thing which came to mind was similar to a condiment shaker with a spinning top, wherein a hole in the lid is matched to a hole in the container so that the seasoning may be dropped. I decided to go for this approach, and modeled the basic design.
the initial design for the lid. the cutout allows for the pill to be released.
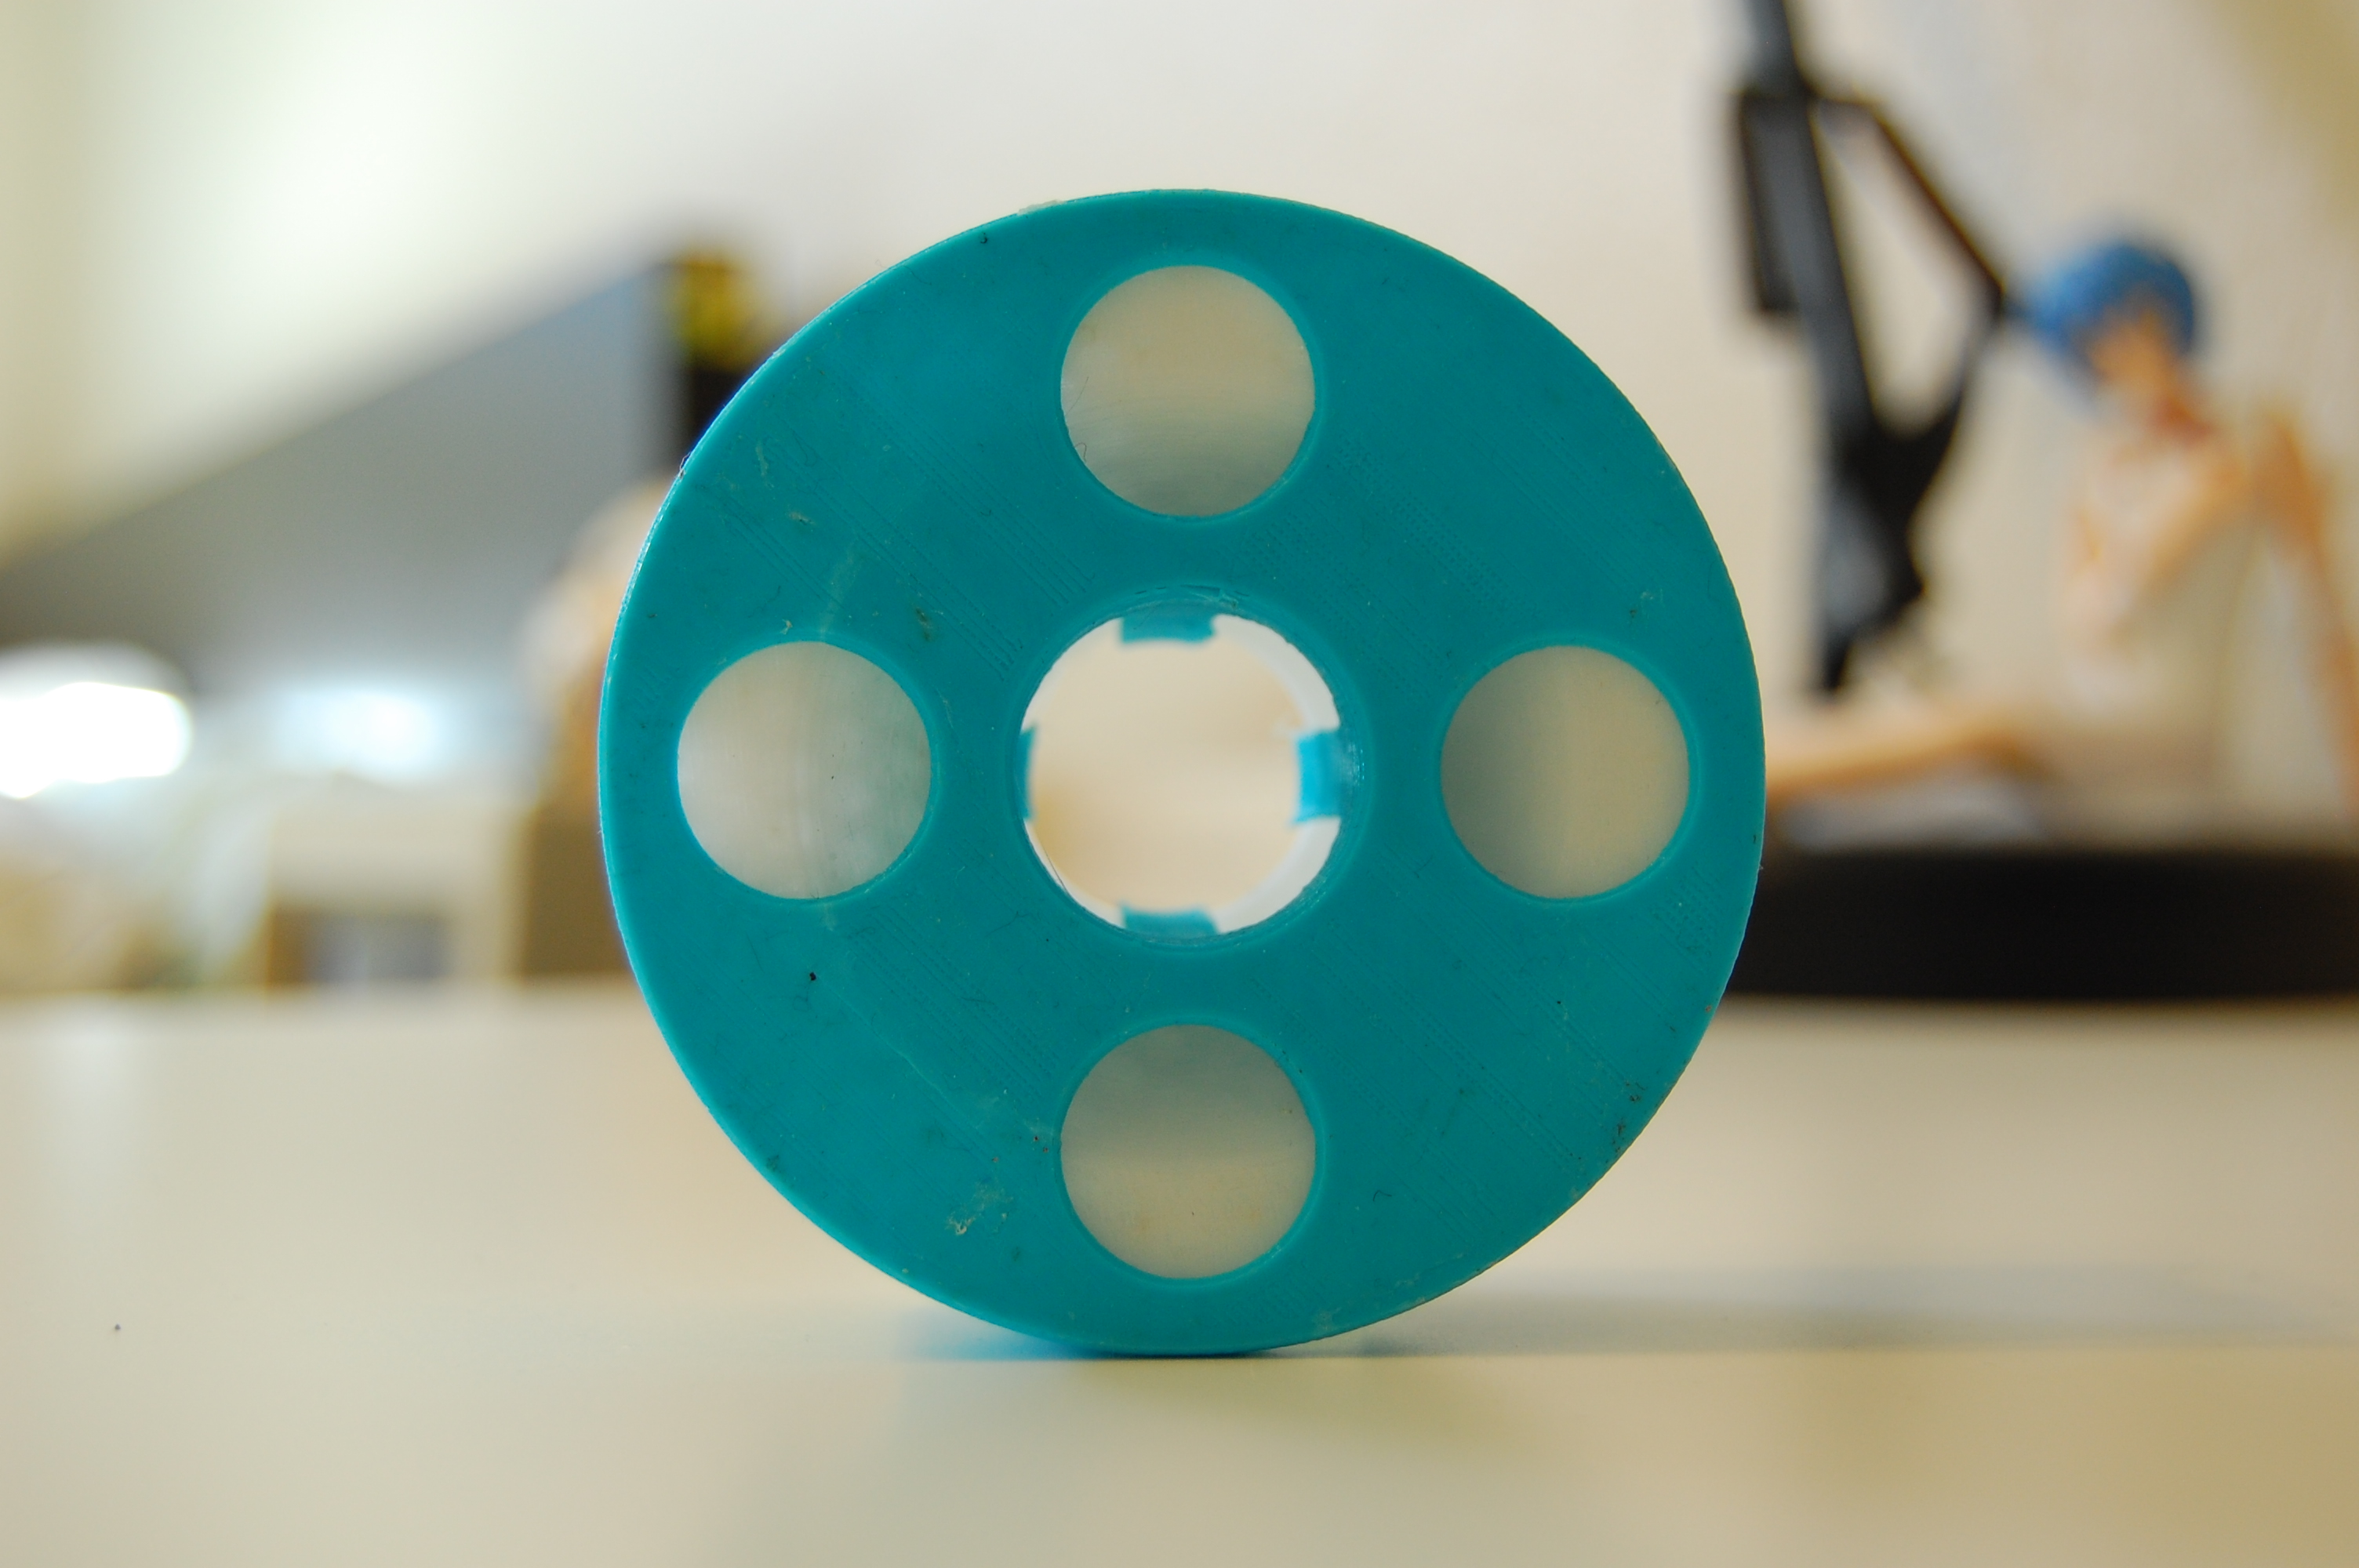
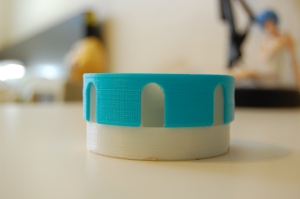
But having such a large opening wouldn’t allow the pills to be kept safely inside, so I scrapped that idea. Instead, I went for a slightly different approach, with the case opening from the sides. This would allow the user to open the case only when they wanted something, and keep it safely closed at all other times. In addition, I added some finger holes on the top, similar to a bowling ball, which allows the user to easily open the container. I printed out this design, and had a functioning pill case.
the case itself. looks sort of like a ufo
Just something to keep in mind: whenever designing movable parts for 3D printing, be mindful of tolerances. If you don’t leave room for expansion of the plastic when designing, the parts likely won’t fit together properly. Therefore, it’s a good idea to leave at least a .4 mm size difference between moving parts.
openedclosed
It’s surprisingly pretty fun to play with this thing. Because I accounted for the .4 mm size difference between the parts, the top rotates well.
Design is difficult. I don’t know about you, but for me, designs I make are never perfect. It is rare that they find themselves even remotely to par with what I consider “acceptable.” But the other day, I made something I’m actually proud of (probably a first, maybe a second, definitely not a third). It’s another Raspberry Pi case, and at this point it’s unnamed. Maybe Susie will be his/her name. Who knows?
look at those angles
This thing was an absolute pain in the ass, like all projects relying on 3D printing tend to be. Tolerances are a real annoyance. I found that, with using Cura and tolerances of +/- .4 mm, the plastic parts seemed to snap together quite well. Of course, your mileage may vary, depending on your printer’s capability, the weather next Wednesday, or if your coffee was too hot this morning. And it may take more than a few tries to get a print you’re happy with, but if you’ve spend any time with this technology, you’ve already come to expect that.
it’s such a pretty combination of colors, don’t you think?
This particular design (dare I say masterpiece) lives over here. Do you like it? Great! Do you hate it? Even better–tell me why you hate it, and I’ll try to improve it. As you are probably already aware, I work towards a level of unattainable excellence in design–hence why it’s difficult for me to impress myself with… things…
So, remember the other day when I graced you all with some misadventures in the wildly complex dance between 3D printer and operator? Well, it’s time that I give some updates.
Nana refused to print consistently. Sure, sometimes everything would turn out great. Other times (this happened twice, by the way), she would produce an immaculate print, then give up directly afterward, printing nothing but hot air on her next run. This went on for a few days, until I decided to recalibrate the E-steps. Great, everything worked. But soon afterward, I again was getting inconsistent quality. Some idler screw tightening and a bit of hope later, and she worked. But then she stopped working. Nana really does hate me.
Nana’s rage built up until, finally, the extruder stepper somehow became so hot that it melted the extruder body. With this warped extruder, I was able to pull off one final print to replace the broken part.
“ow!” is the proper response
And that’s my story of how a machine ate up all my spare time for about a week.
The thing I love about 3D printers are their ease of use and reliability. If only this was the case. If you want something which likes to do its master proud, buy a laserjet printer. Or a dog, for that matter. This post comes after a series of failed prints. It comes after stepping on far too many bits of broken plastic. It comes after my little Prusa i3 nearly made me pull every strand of hair from my skull.
*glares*
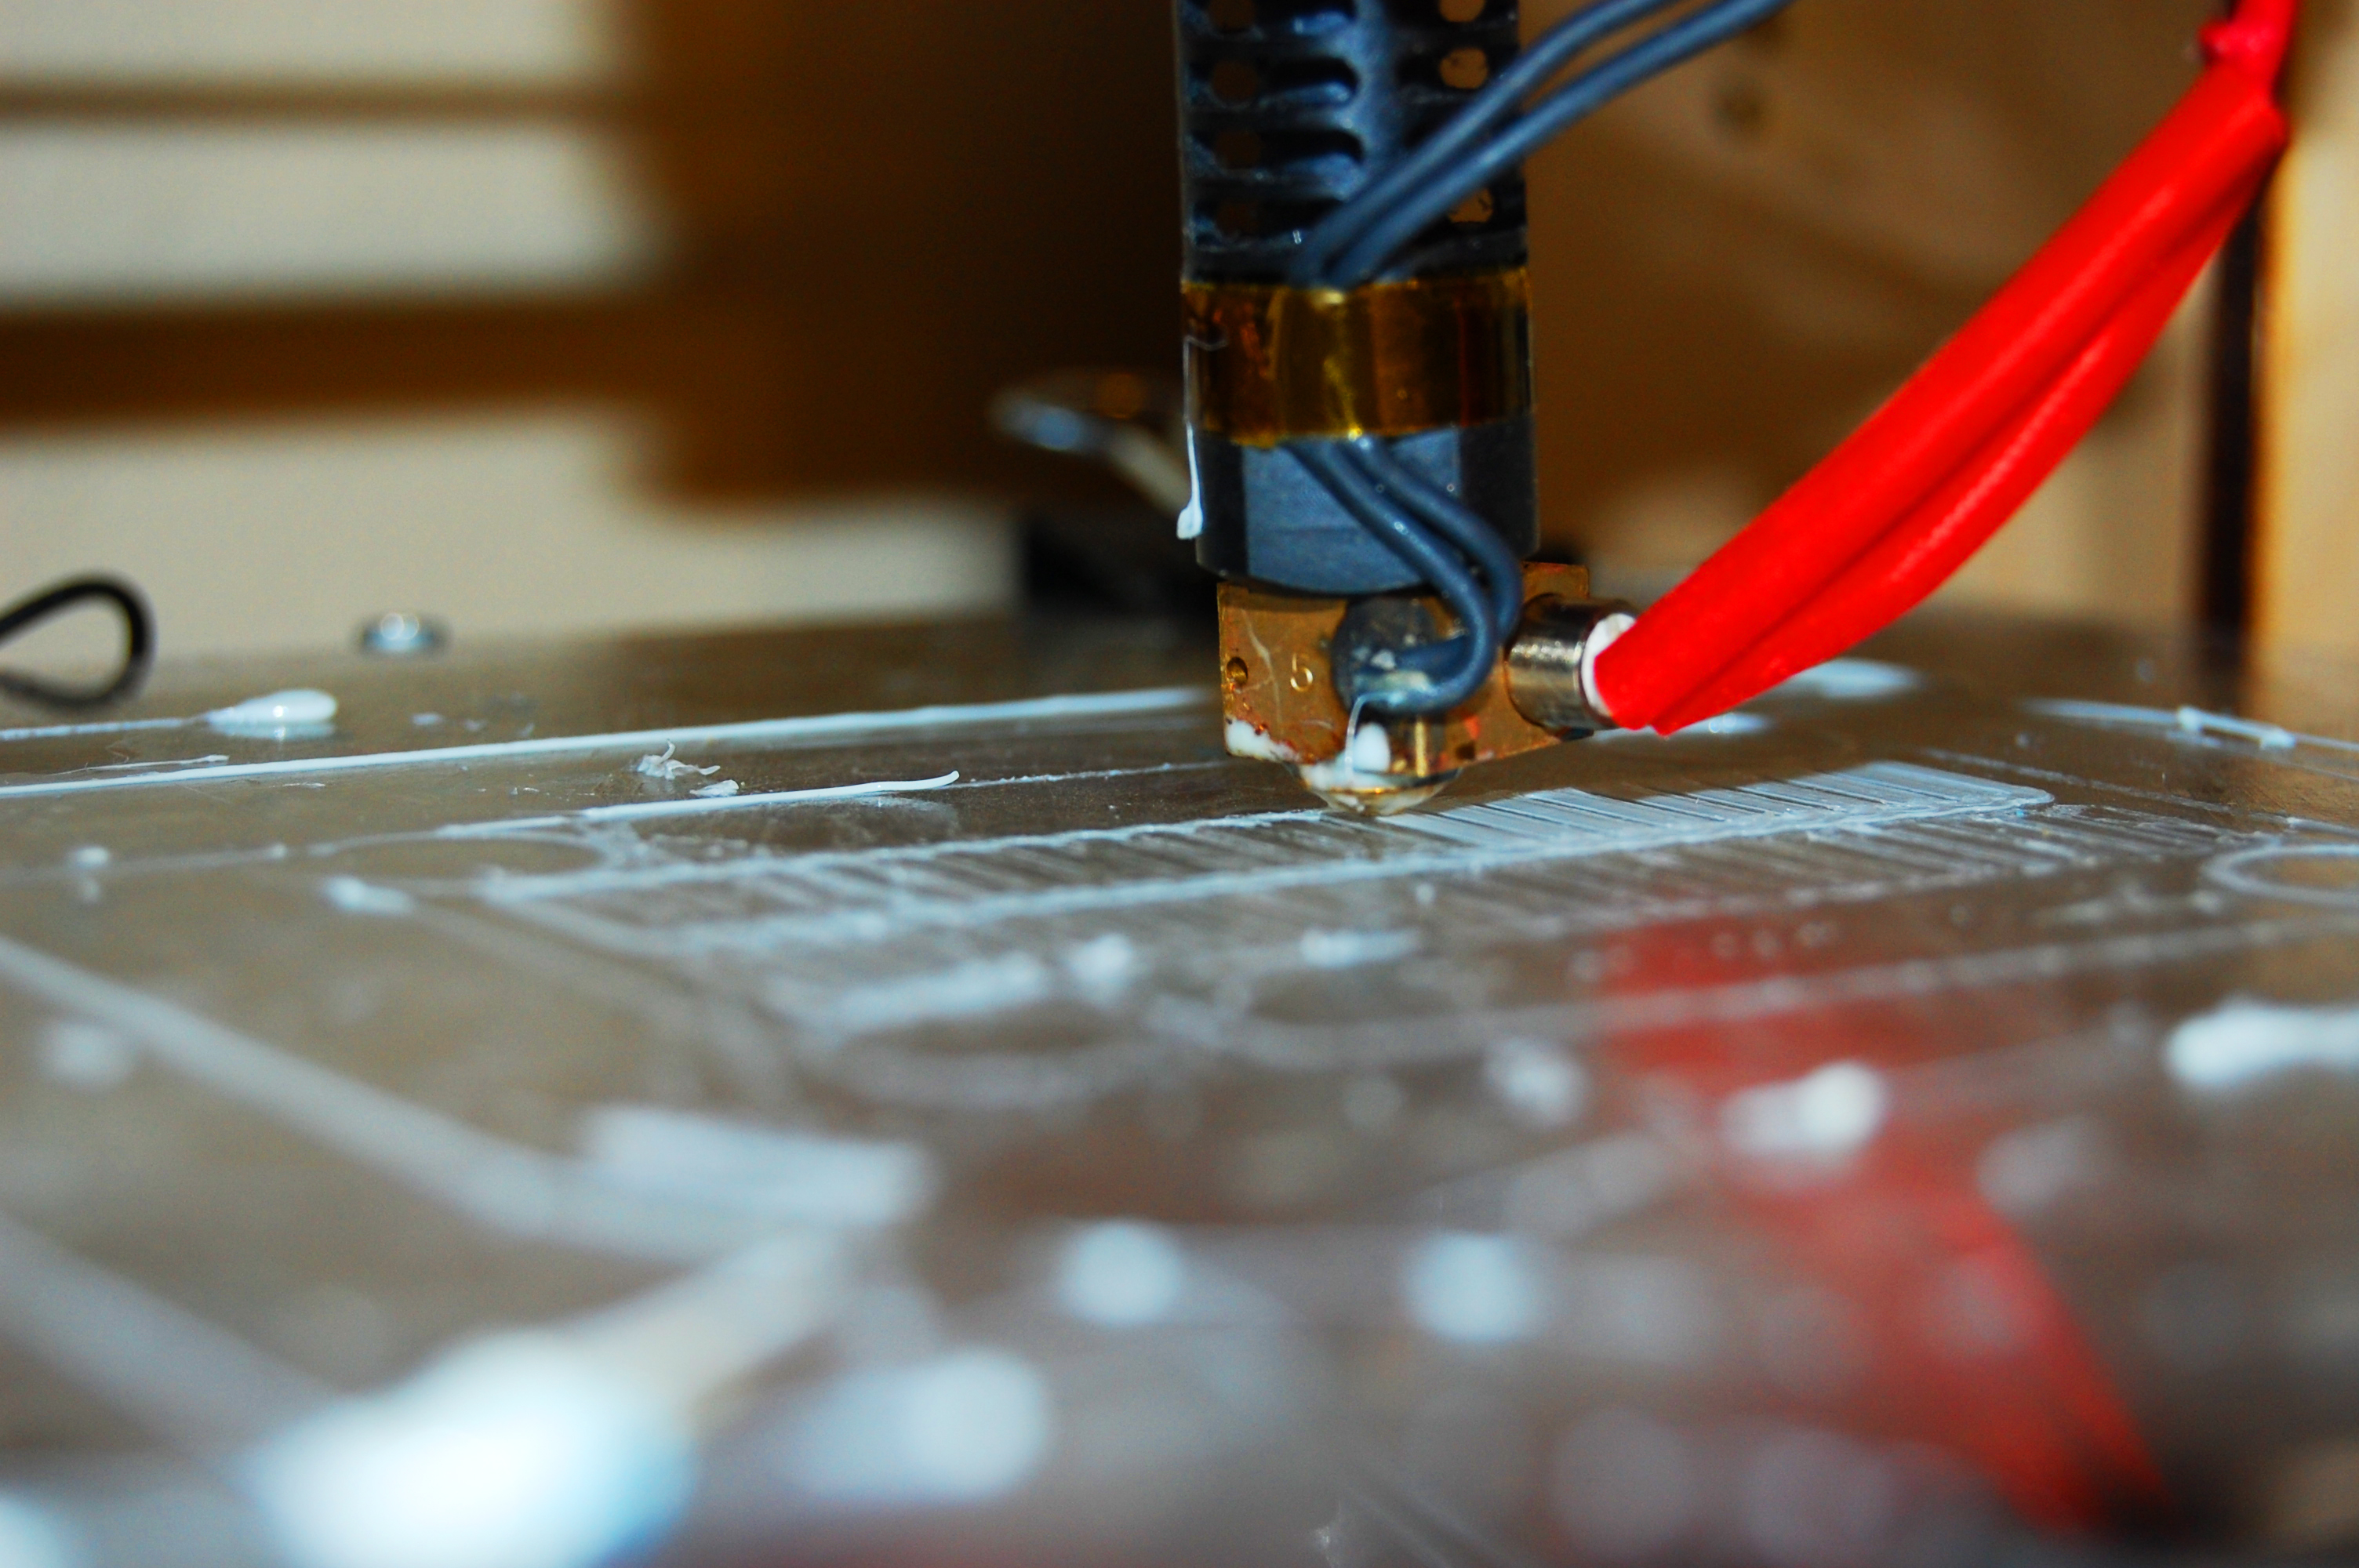
Now, don’t get me wrong–I love 3D printing. These wonderful machines have come to occupy the few spare moments I have in my day. When they work, they’re great. When they work. Being a relatively new player in the 3D printing game, when my printer fails to produce quality prints, I often am at a loss. What is the issue? I try everything to get the print right–I add glue to the bed, raise the temperature, check for clogs, etcetera, etcetera. But when this novice fails to accurately find a solution to one of the ever-present issues with 3D printing, he becomes frustrated. And you would, too, if a machine which you so gingerly put together, piece by piece, and perfected after hours of meticulous calibration, began to fail for no discernible reason. Which is exactly what happened yesterday.
I bought some new filament. It’s white, and a really nice, bright white at that, so I was excited to print some really nice parts. Now, I don’t believe it was the filament which was the issue, as this brand received many nice reviews on that there Amazon. Honestly, I think the printer had it out for me. In fact, I am certain of this. I know it saw into my mind, peering directly at images of snow-white parts. Easier to paint. An overall cleaner look than the gaudy red and blue which I had become accustom to printing in. The point I’m trying to make is this: my printer hates me. But, why? I’ve done so many nice things for it. I built it. I feed it with high quality filament. I’ve even given her a name (Nana, by the way). Regardless, my work horse of a Prusa i3 hates me.
lots and lots of bits of plastic
It stopped extruding midway in a print. No problem, I thought, just a simple clog. So, I cleaned out the extruder, and gave it another go. Everything seemed to go as planned, until it clogged again. And again. This went on about ten times, I imagine. I gave up on this j-head, and decided to grab another from my parts bin. But, the same thing happened to that one. So, I replaced the drive gear. Same deal, no extrusion. So, I replaced the cold end altogether, with the exception of the stepper motor. This at least seemed to do the trick, so I let it be. And then it happened again. I tried one more thing which somehow slipped my mind prior: checking the idler tension. And that turned out to be the issue. Literal hours wasted on what could have been fixed by tightening a single screw.
And so it is, another chapter in the never ending-book of reasons why 3D printing has yet to come into the mainstream. As I write this, my printer is dutifully printing yet another part, but I fear this may be in vain, as it is likely to end up another bit of plastic to find itself in my sock, on my clothes, or in another part of the house. I love 3D printing, but 3D printing is a tough lover.
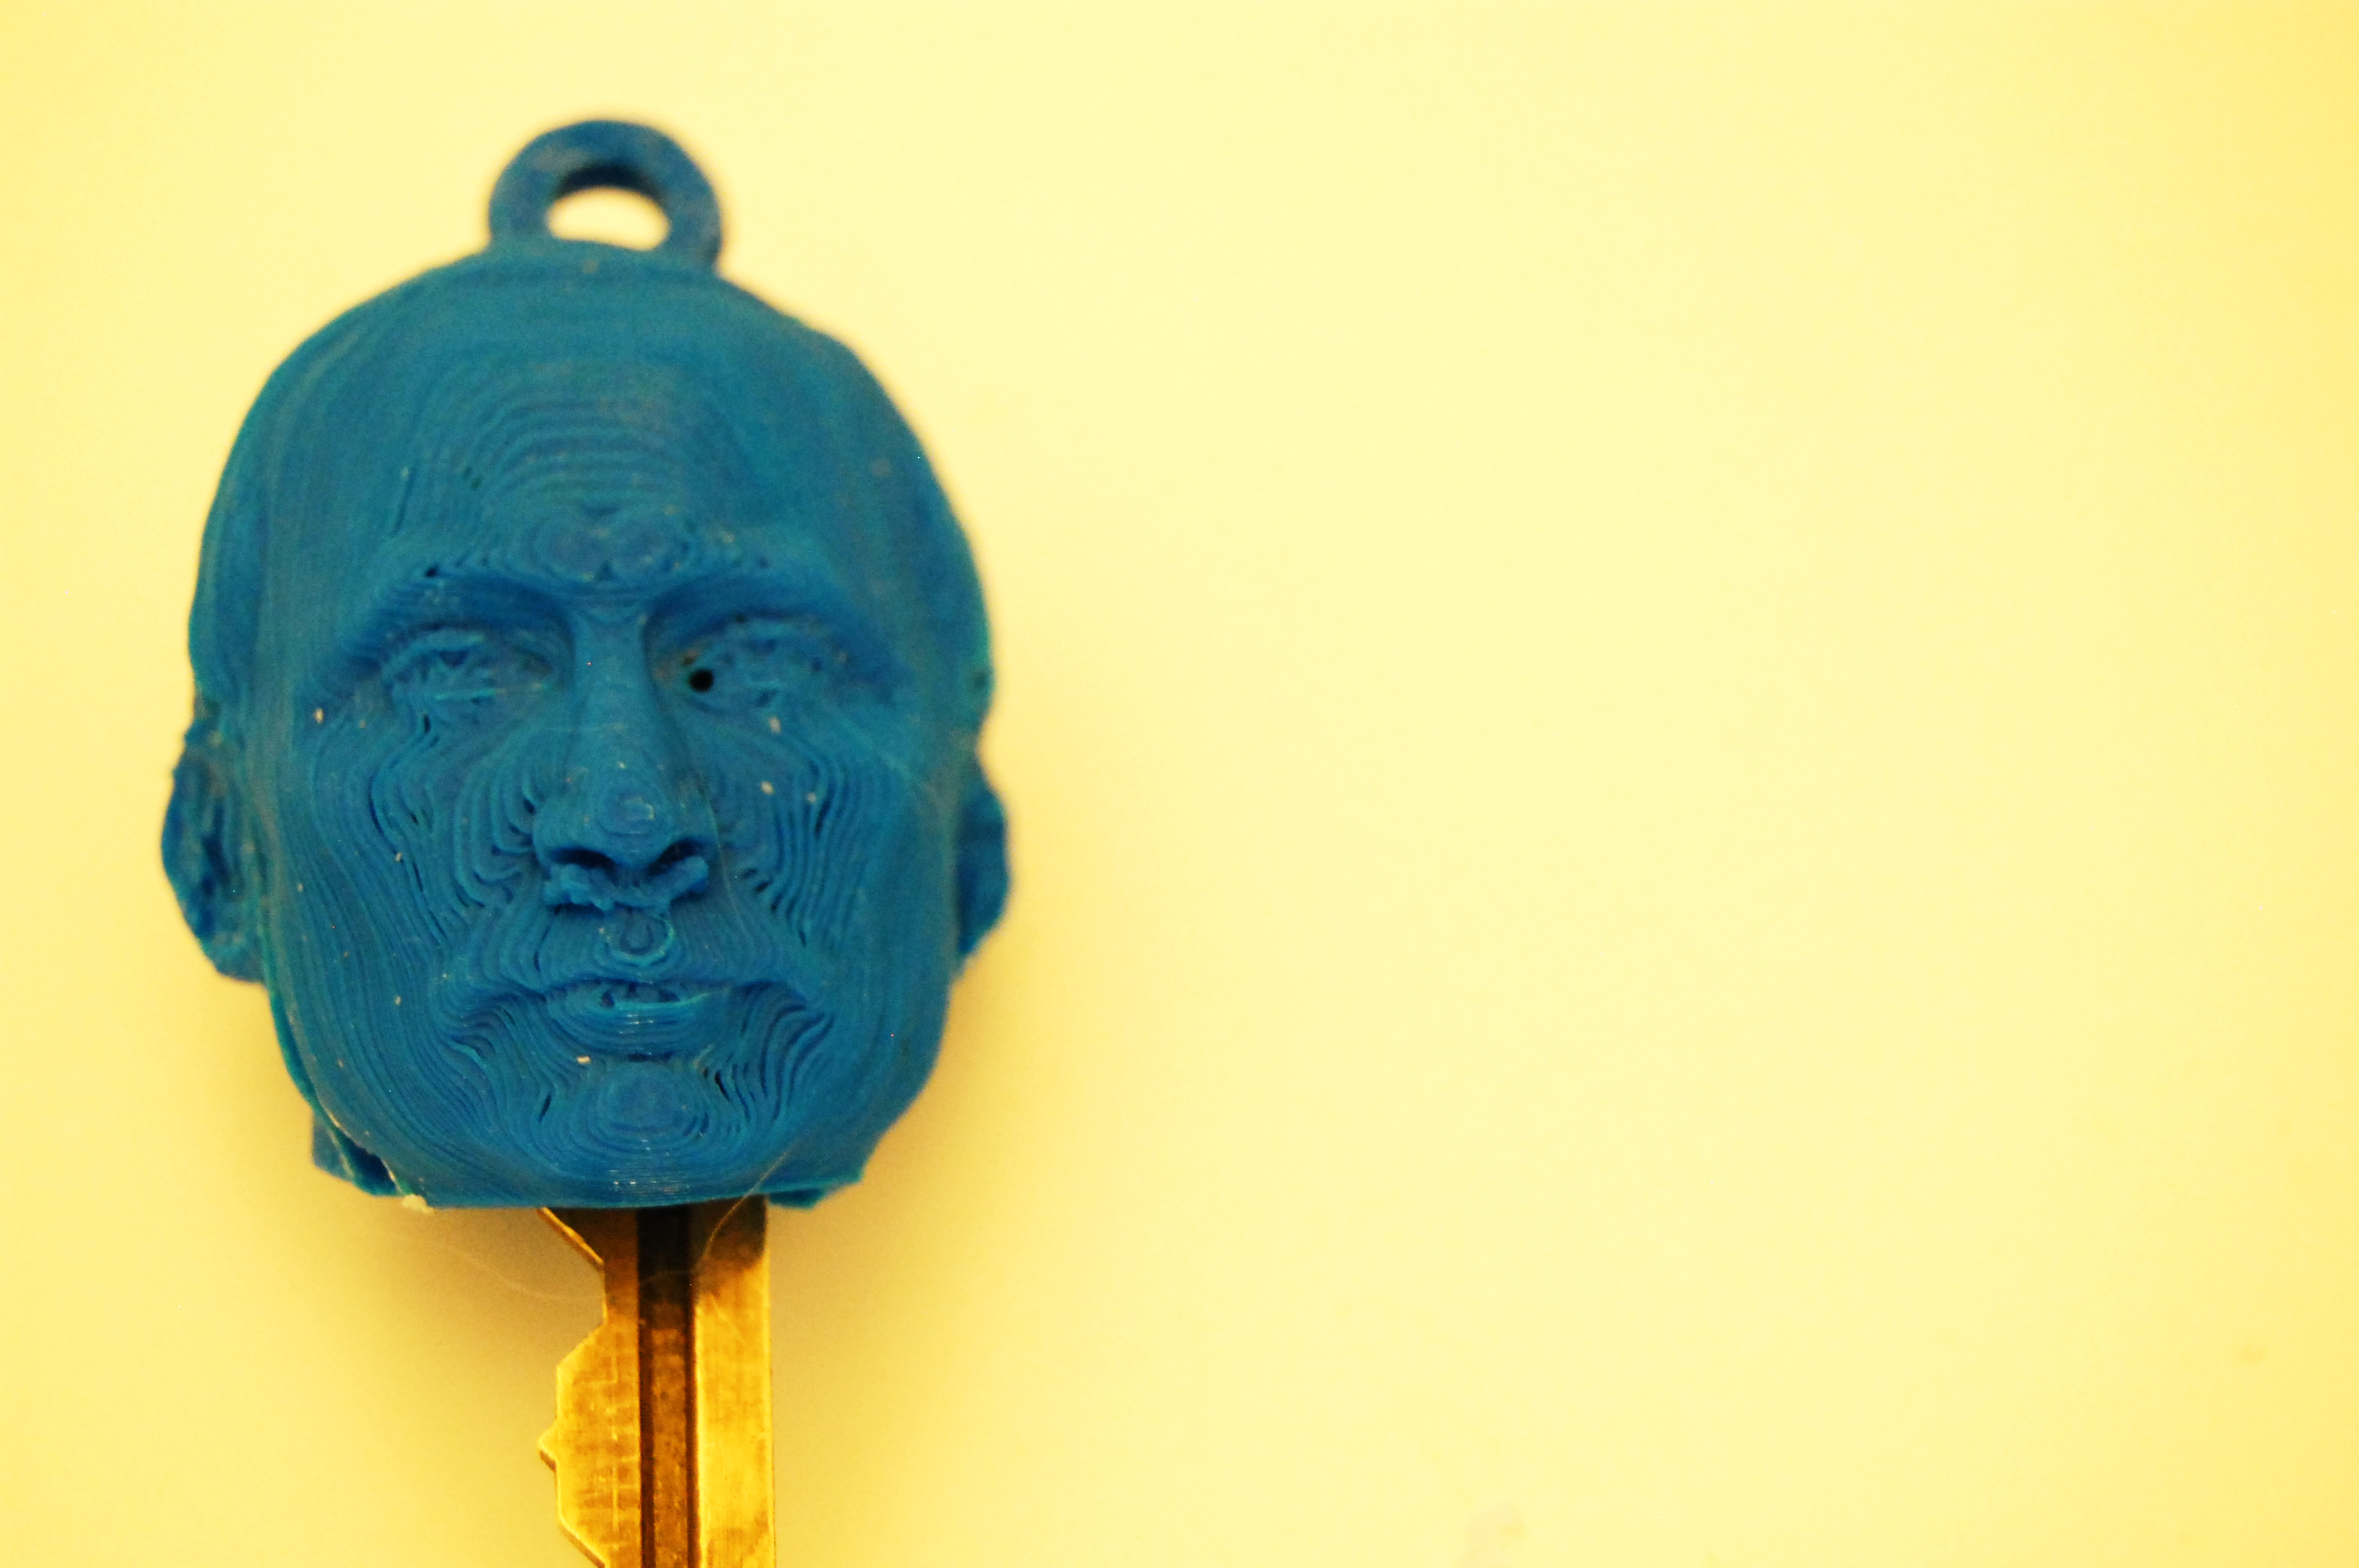
I know what you’re thinking: I wish I had a miniature Vladimir Putin dangling from my keychain. And you know what? I’ve been there. But no longer must you trudge through the barren tundra of Siberia without Putin yelling kind words of encouragement. At least, when you bring your keys along.
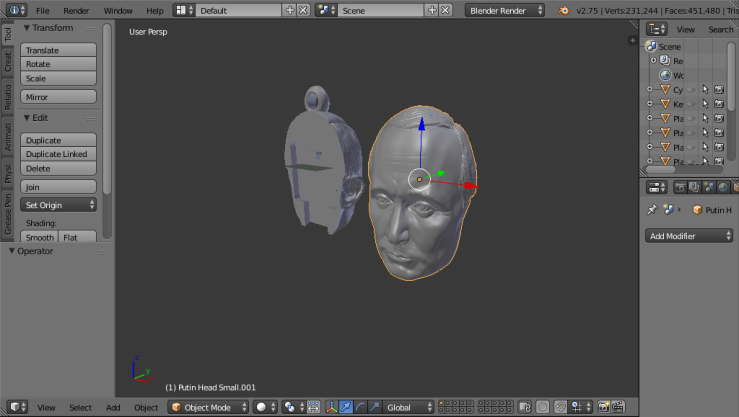
Okay, let’s be serious. Putin is a sort of funny man. While nothing he does is exactly funny (other than the fact that his policies are probably worse than those which a child might imagine, if he or she is particularly interested in how to lose international friends), he’s sort of a funny man to look at. So, armed with Inventor, Blender, a model of the man himself, and a key, I got to modeling.
Putin hanging around in Blender
First, I got some dimensions from my key and drew them into Inventor, which took all but a few minutes on a sleepless night. I then took the key model into Blender, where it met with the severed head of Russia’s president (I should mention that I cut his head off of the model, so that it could be mounted on a key). I then cut the model into pieces, used Blender’s difference Boolean operation to make space for the key, squished his head down a bit so it fits in a pocket easier, added a loop for attaching the president’s head to a keychain, and exported it as an STL. Unsurprisingly, this took a great deal of time, but I suppose that’s what I get for being more than inexperienced in doing Blender-things.
If you want this little bastard on your key for some reason, you can find the model here. The Putin model which I used lives here.
So that’s it. And now you can have the head of an evil man on your key. And it’s all thanks to me.
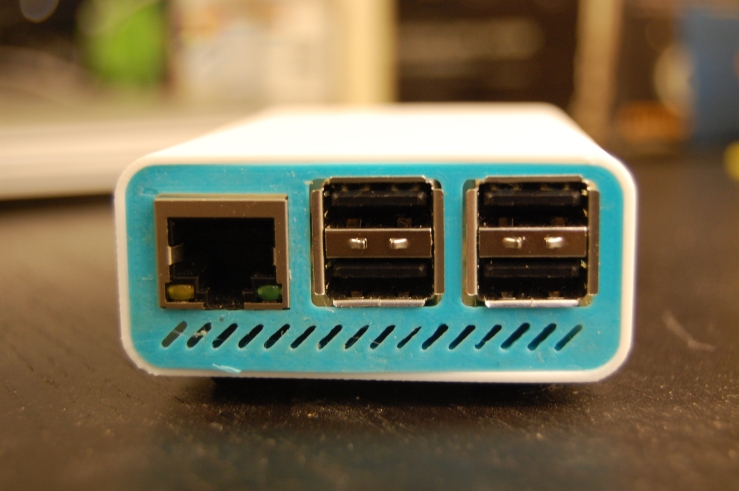
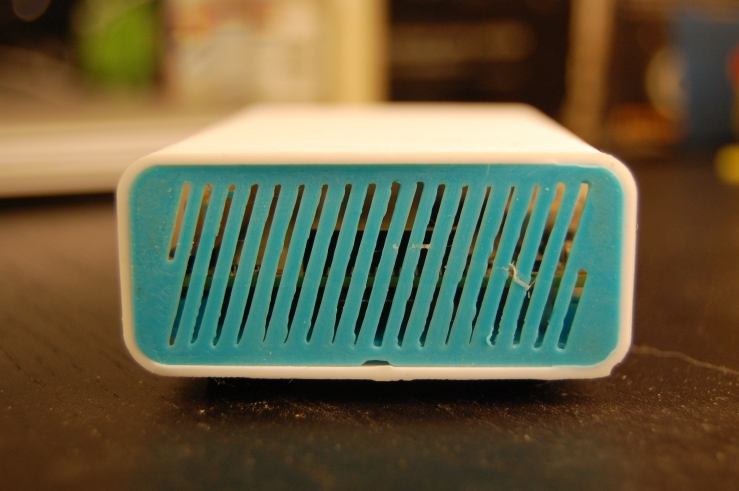
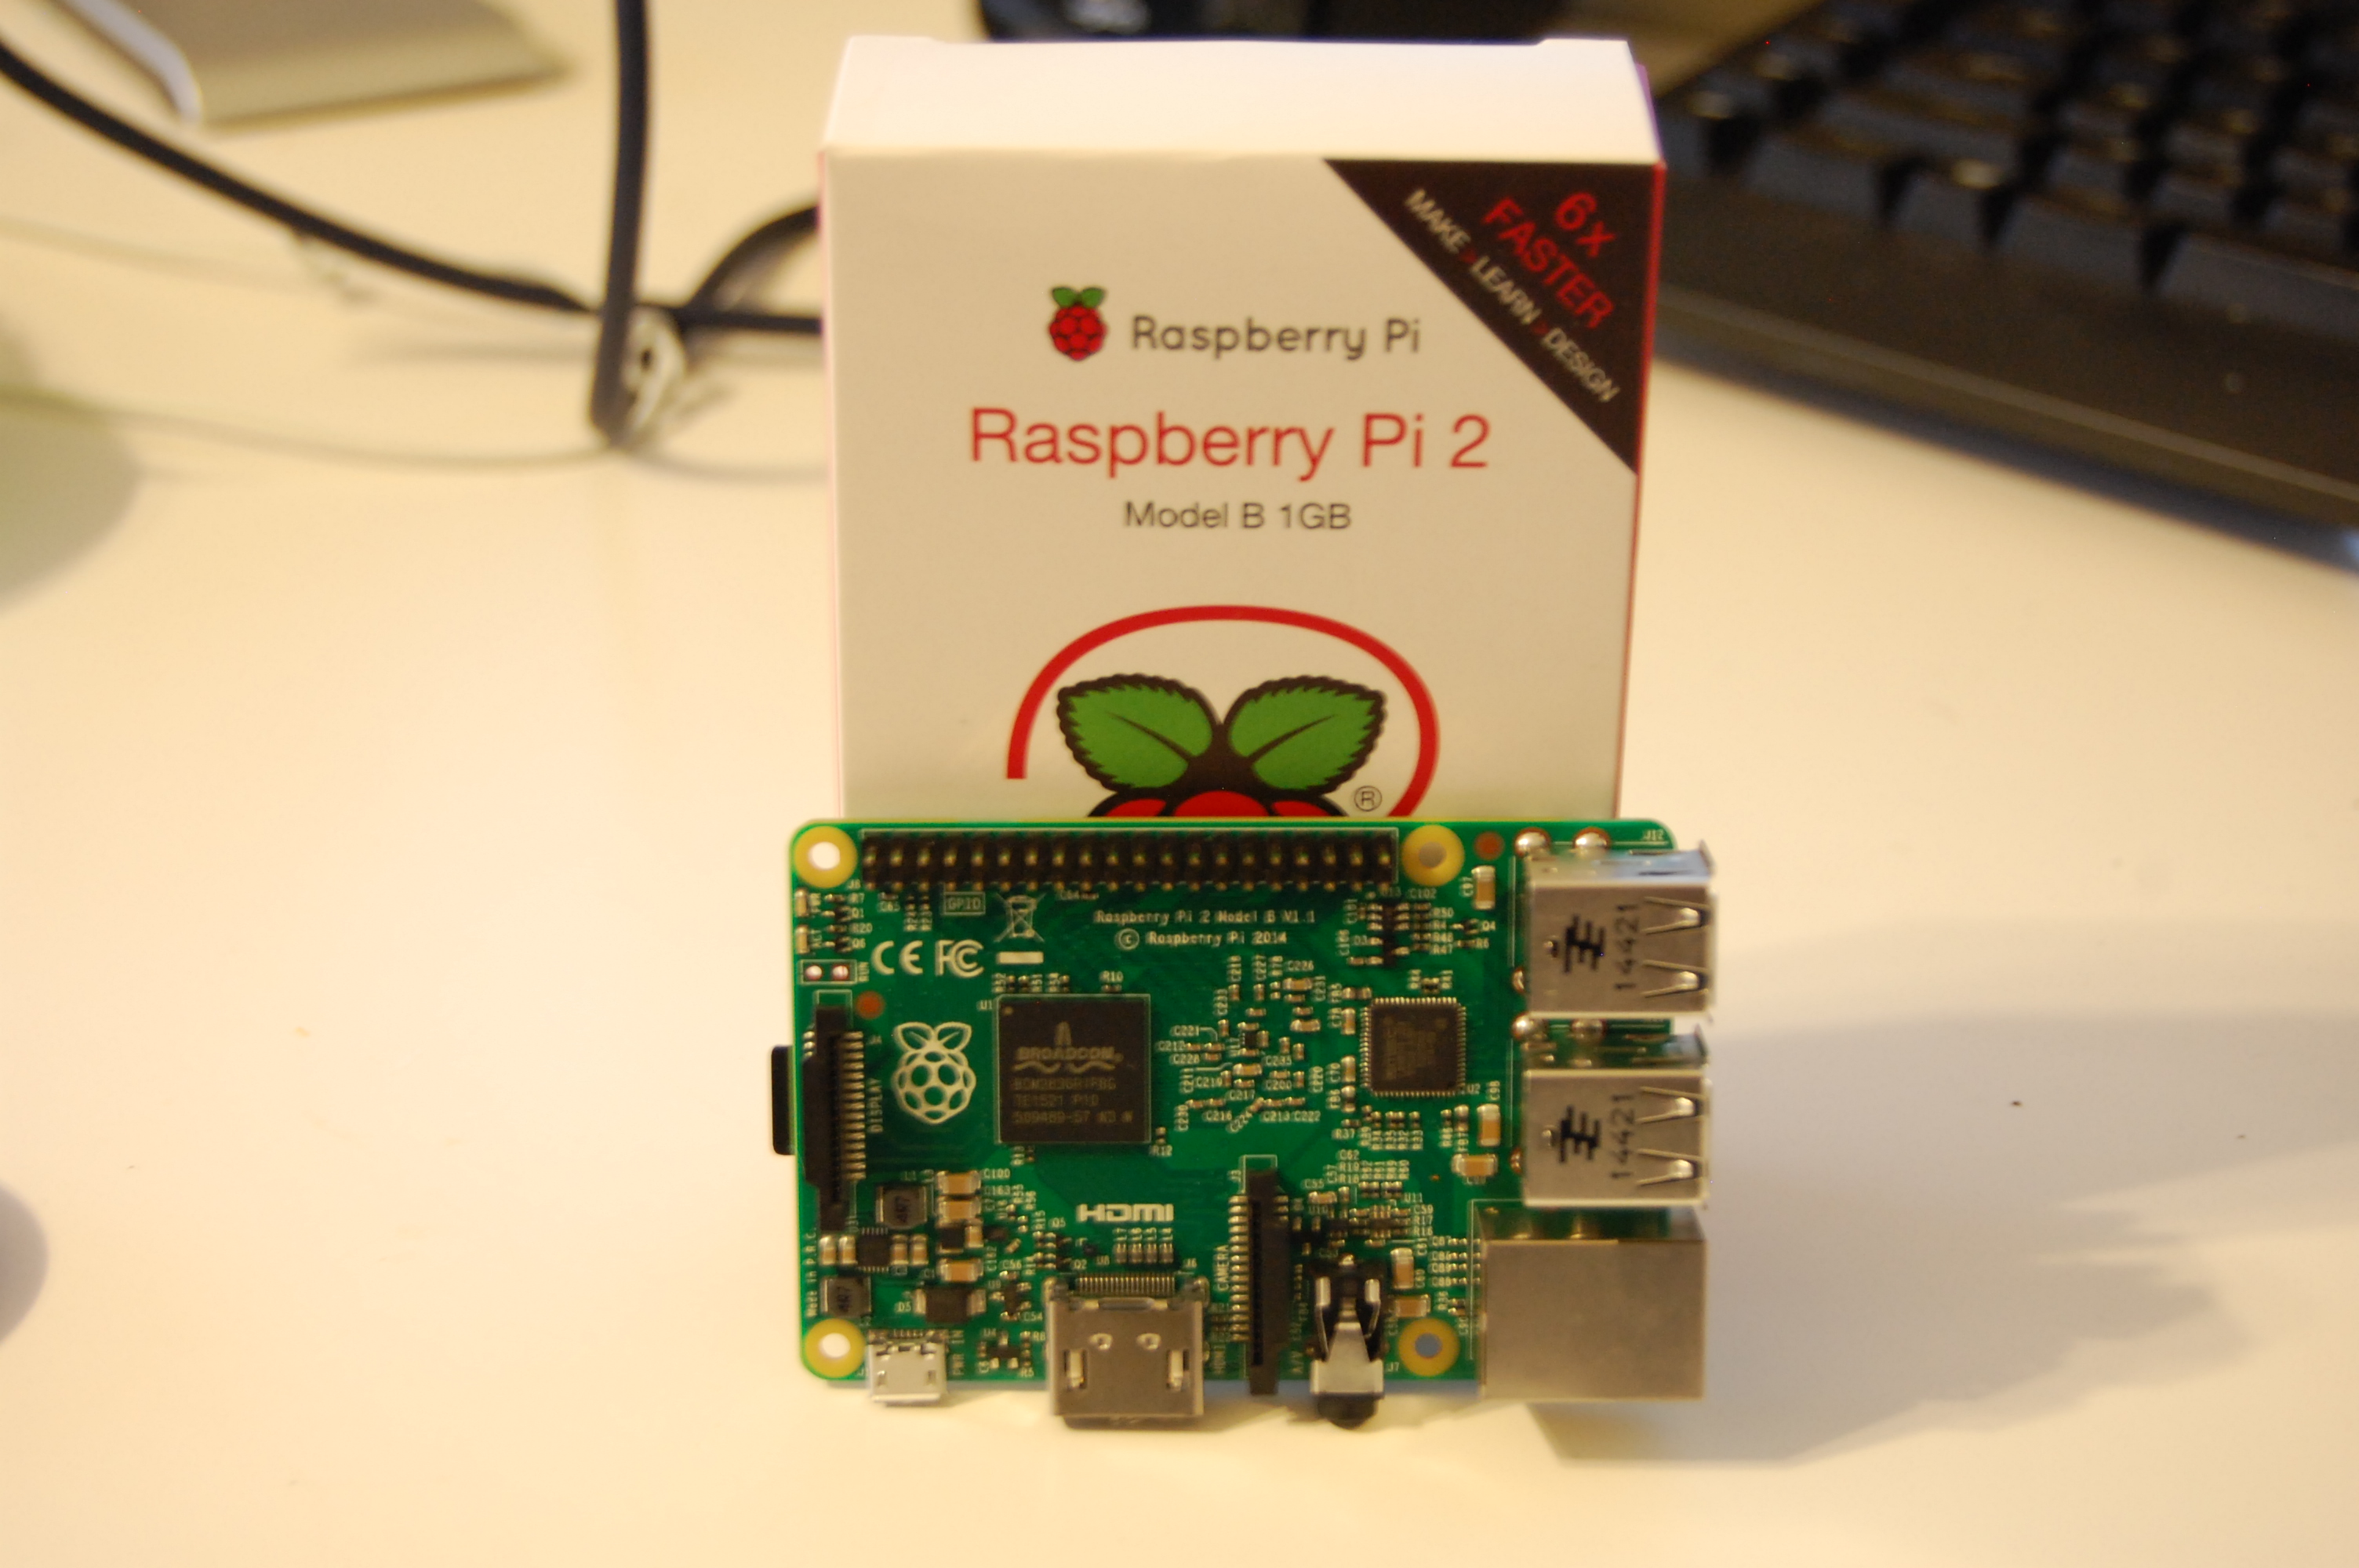
For the past few weeks, a thought has been running through my head; a thought which would come to launch my somewhat relentless tinkering into a full-blown obsession: to build a miniature games console with the help of my good pal, the Raspberry Pi. Now, if you have missed the seemingly nonstop talk by the maker community of the Raspberry Pi, let me fill you in: it’s a computer. It’s the size of a credit card. It runs Linux. And it’s $35, essentially making it a dream come true for those looking for a simple way to enter the once exclusive club of computer owners, on the cheap.
the little computer that could
I love the Raspberry Pi, because it opens a world of opportunities for inexperienced makers, like myself. For me, in particular, it gives me a chance to bridge the gap between my limited experience in CAD software, 3D printing, and hardware design. Now, onto the cool stuff (as if the fact that owning a $35 computer wasn’t cool enough)–that is, the console aspect of the Raspberry Pi. In this project, I will be transforming this humble adding machine into a ridiculously rad, tubular, and other bogus surfer words, console for playing ROMs of dubious legality for all those systems which you definitely *cough* own.
The first step in creating the console is to buy the necessary parts, which through Amazon, was a piece of Pi (sorry). I ordered the Raspberry Pi B model with 1GB RAM for all that lag-free classic gaming joy. I also bought a 32GB micro SD card for storing the operating system and all the ROMs. And that brings me onto my next point: the operating system. For this project, I will be using RetroPie which gives a great front end for running emulators.
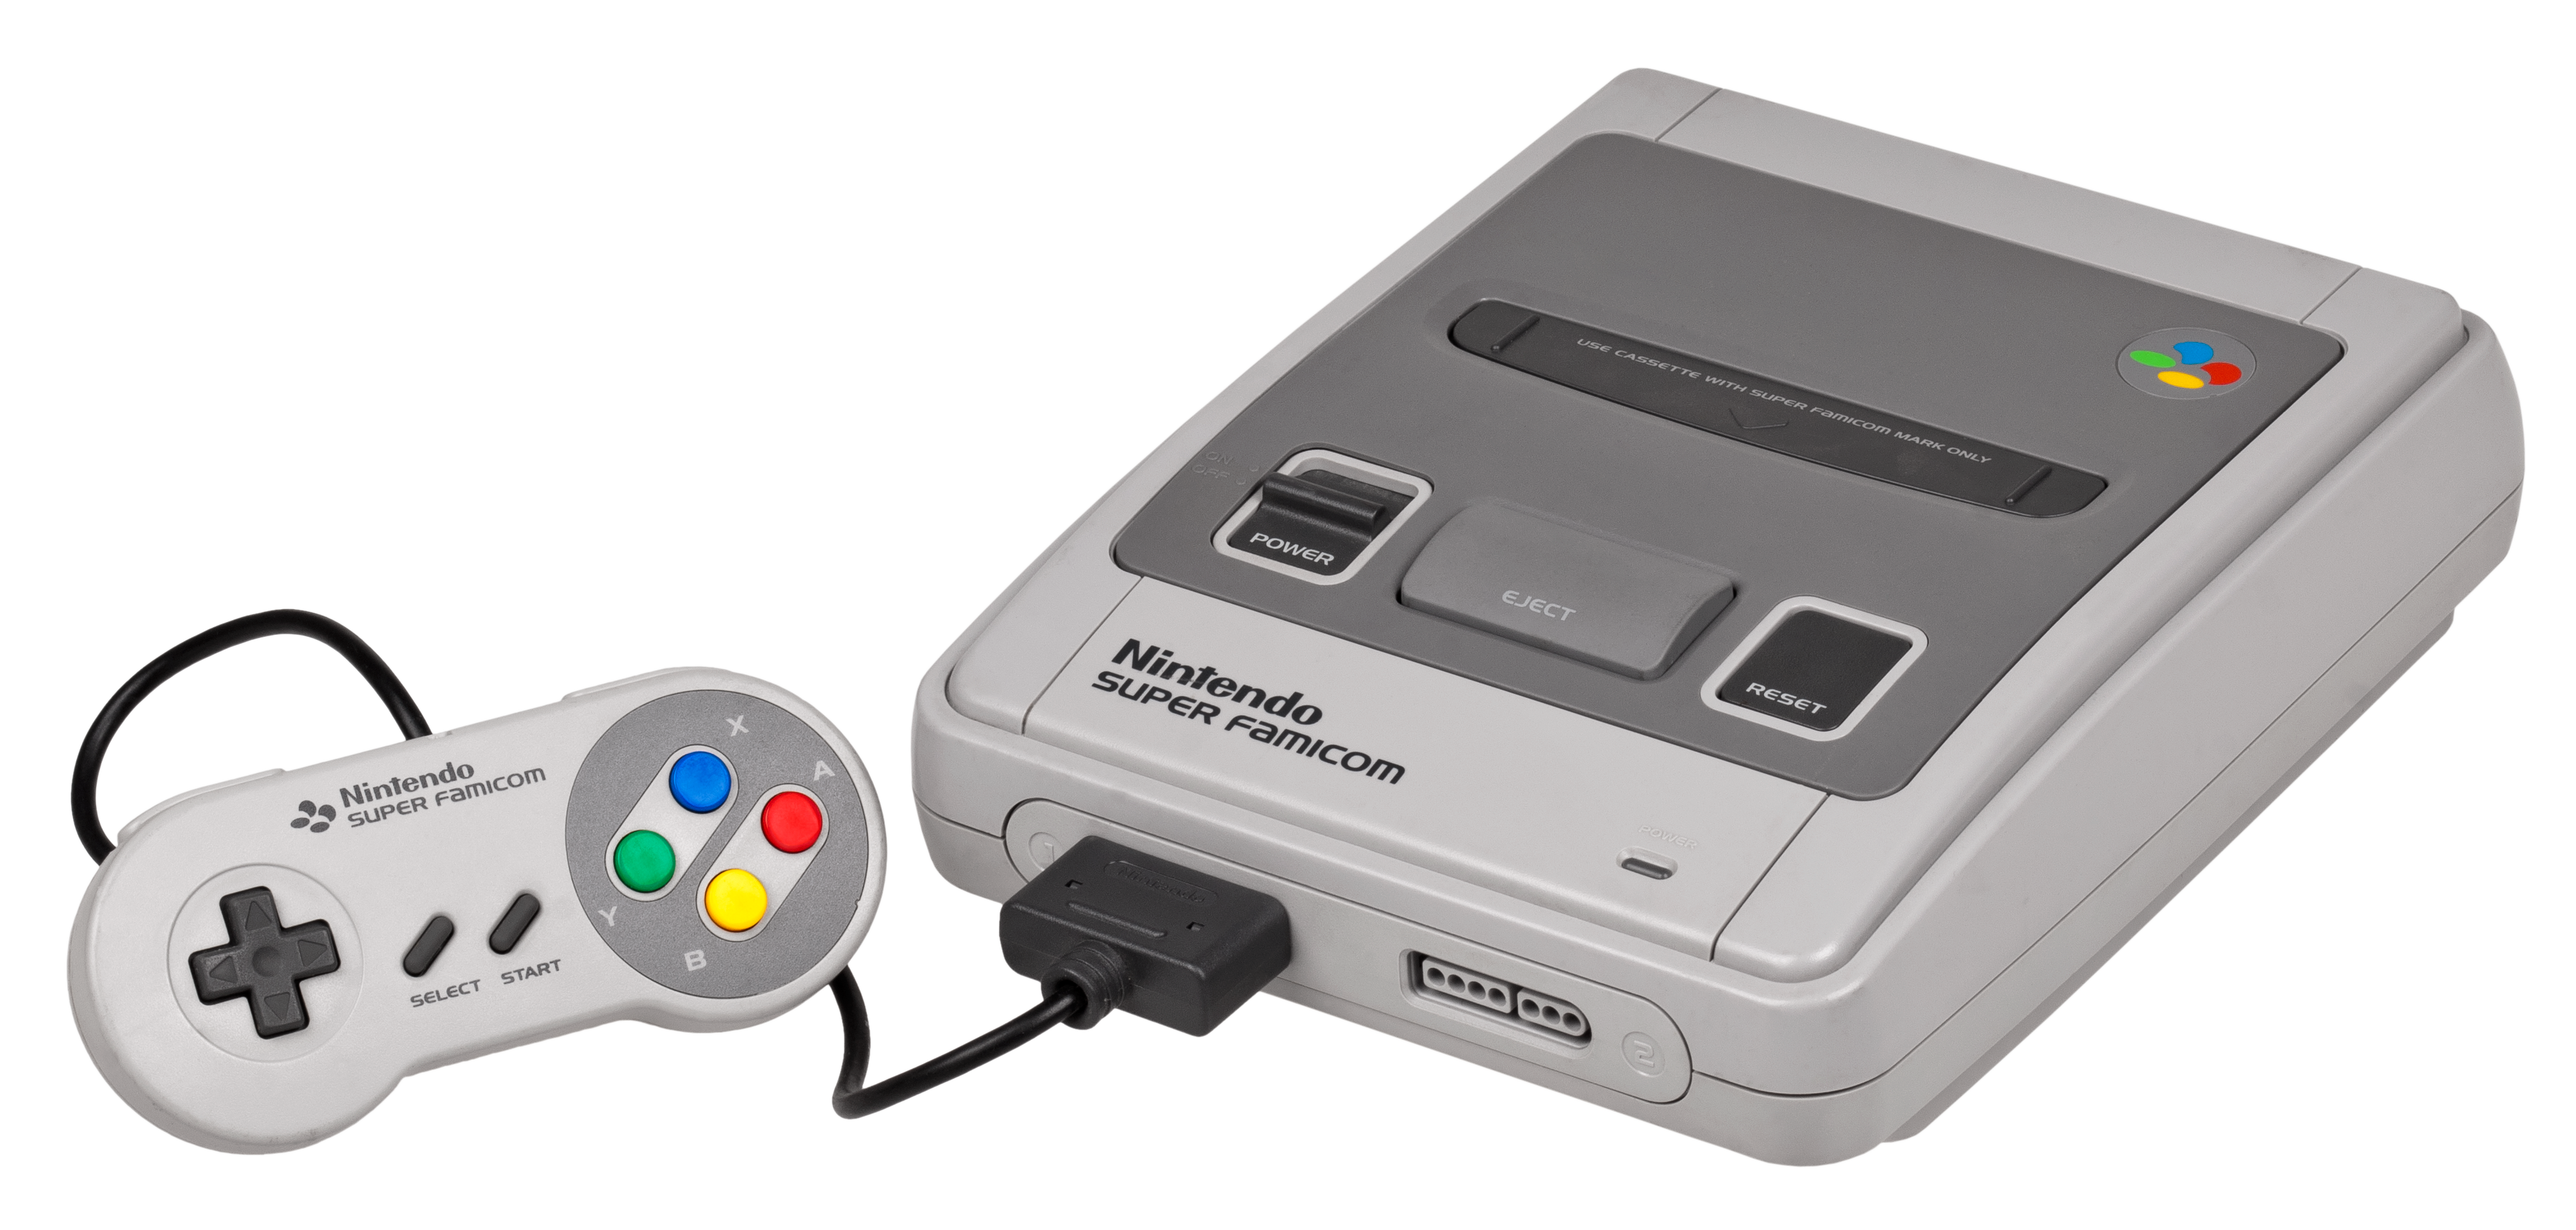
I’d like you to meet the Super Famicom
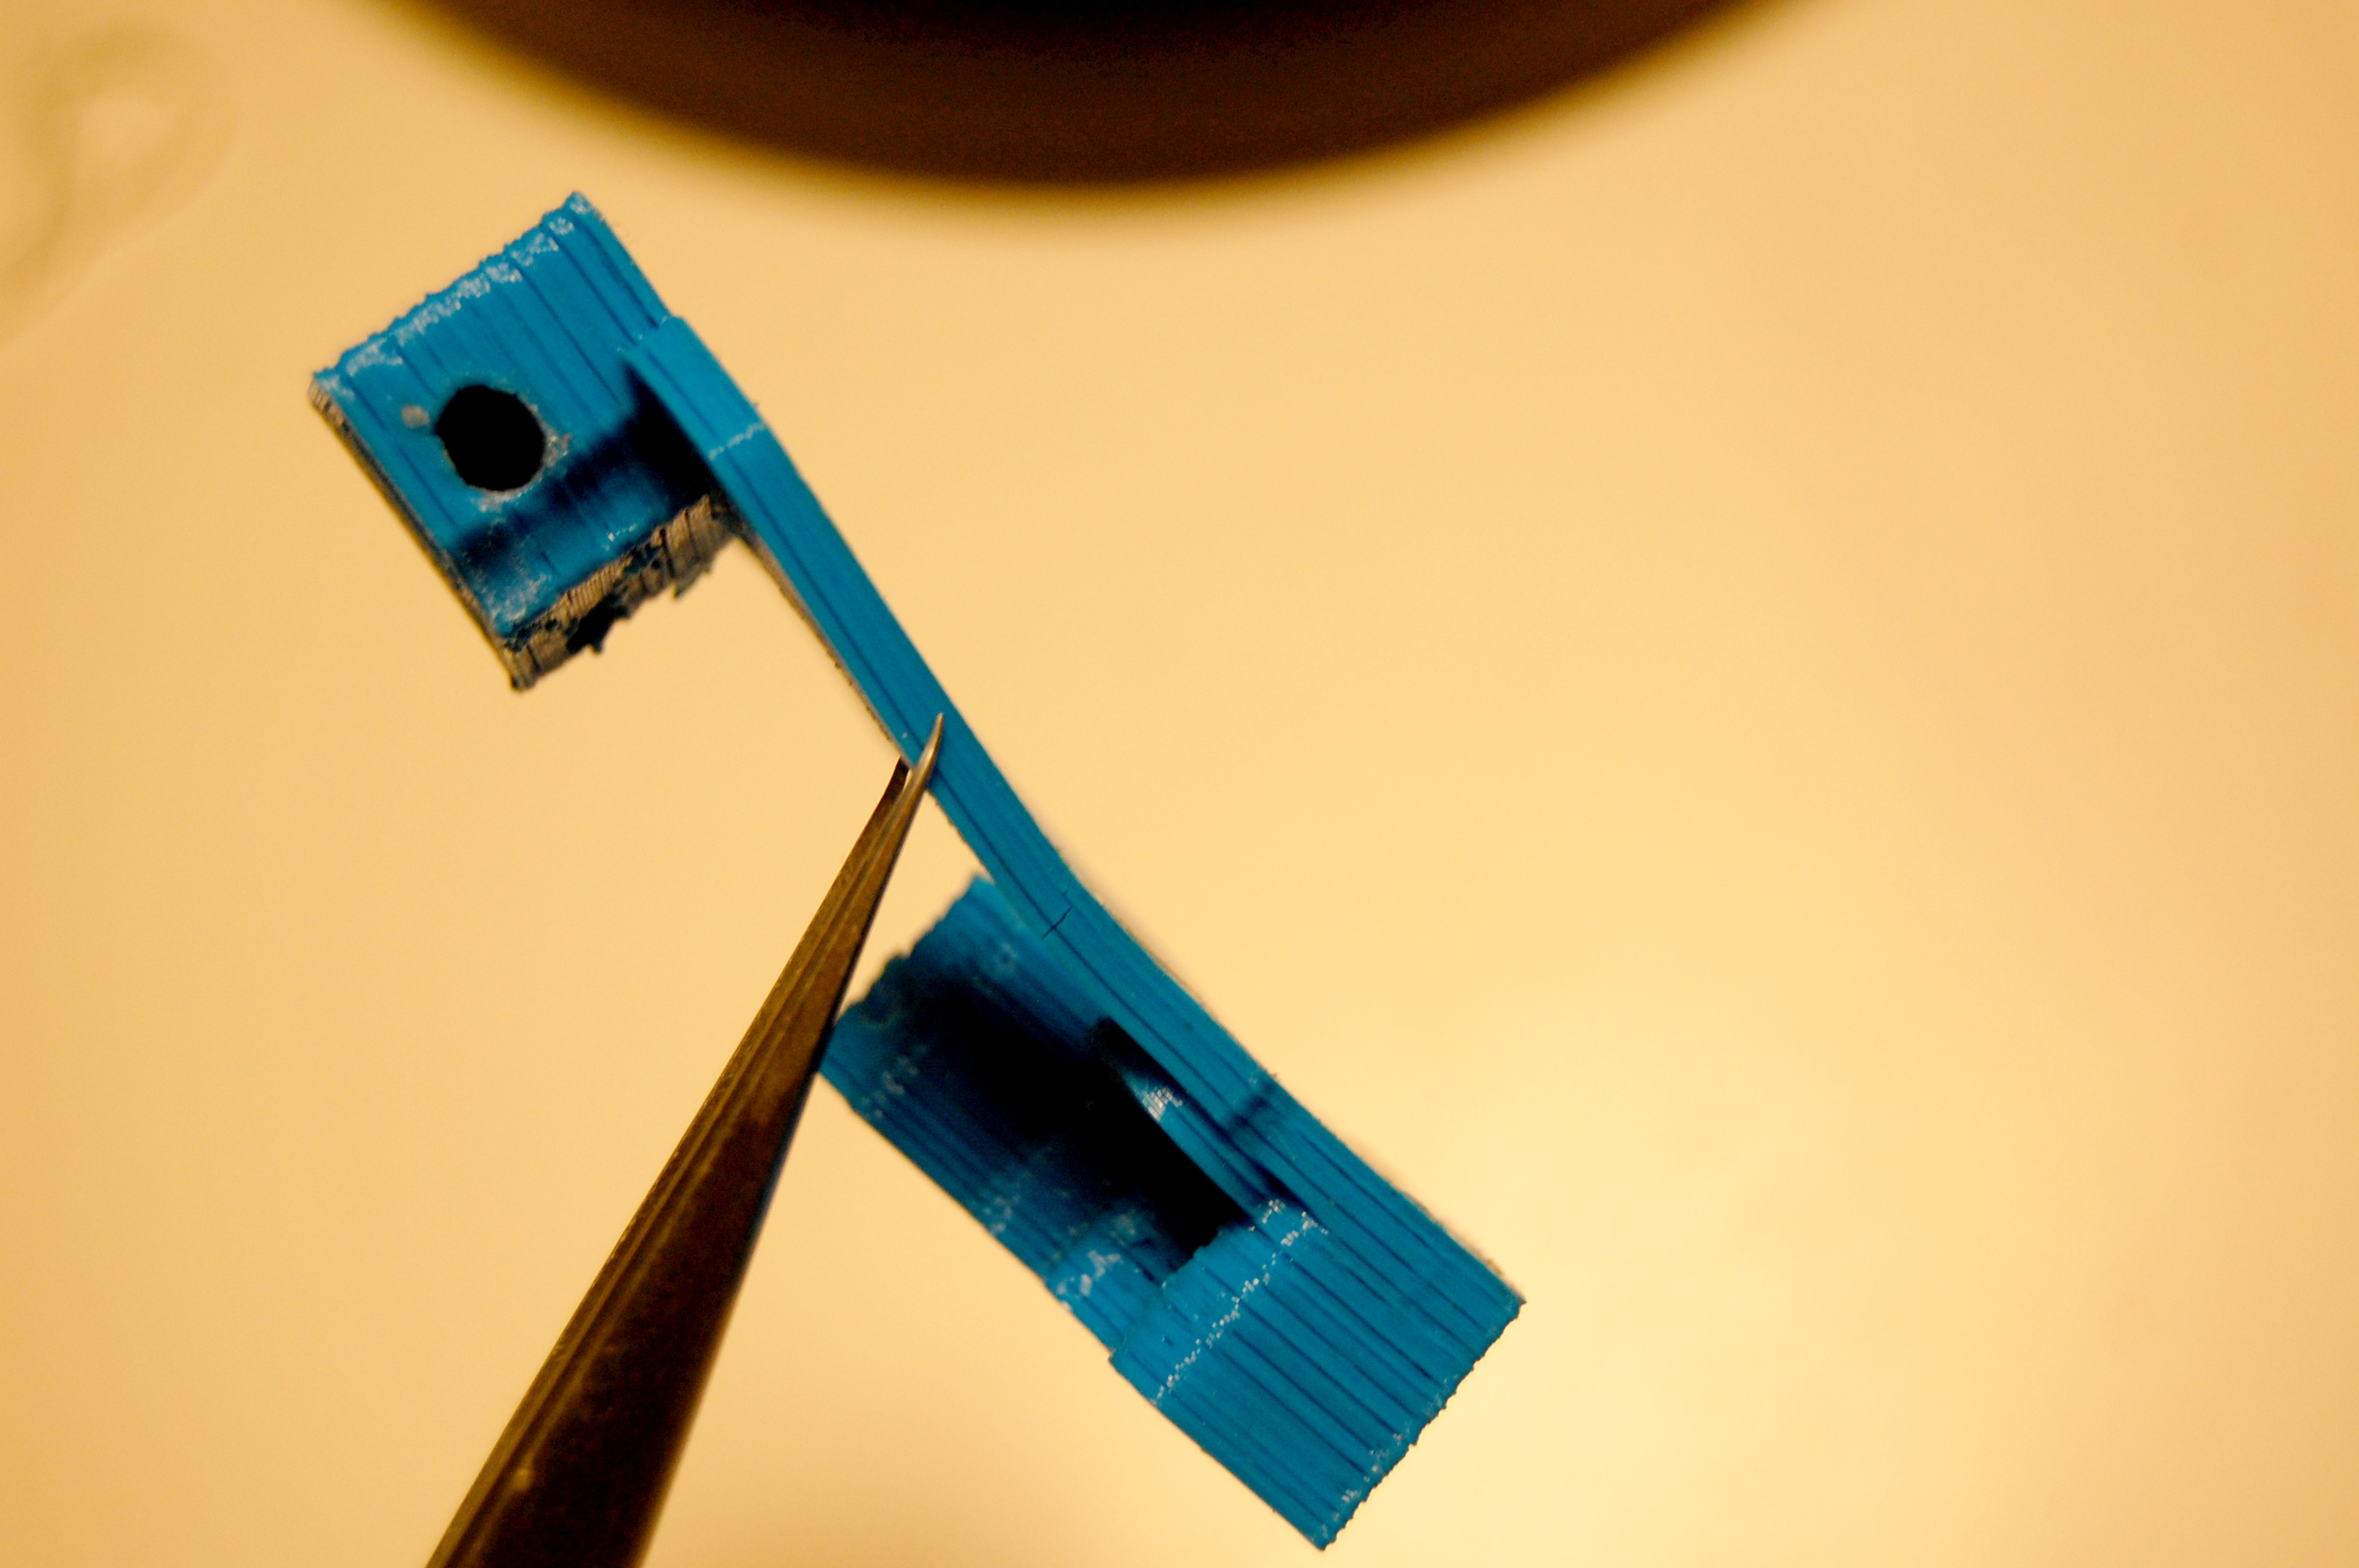
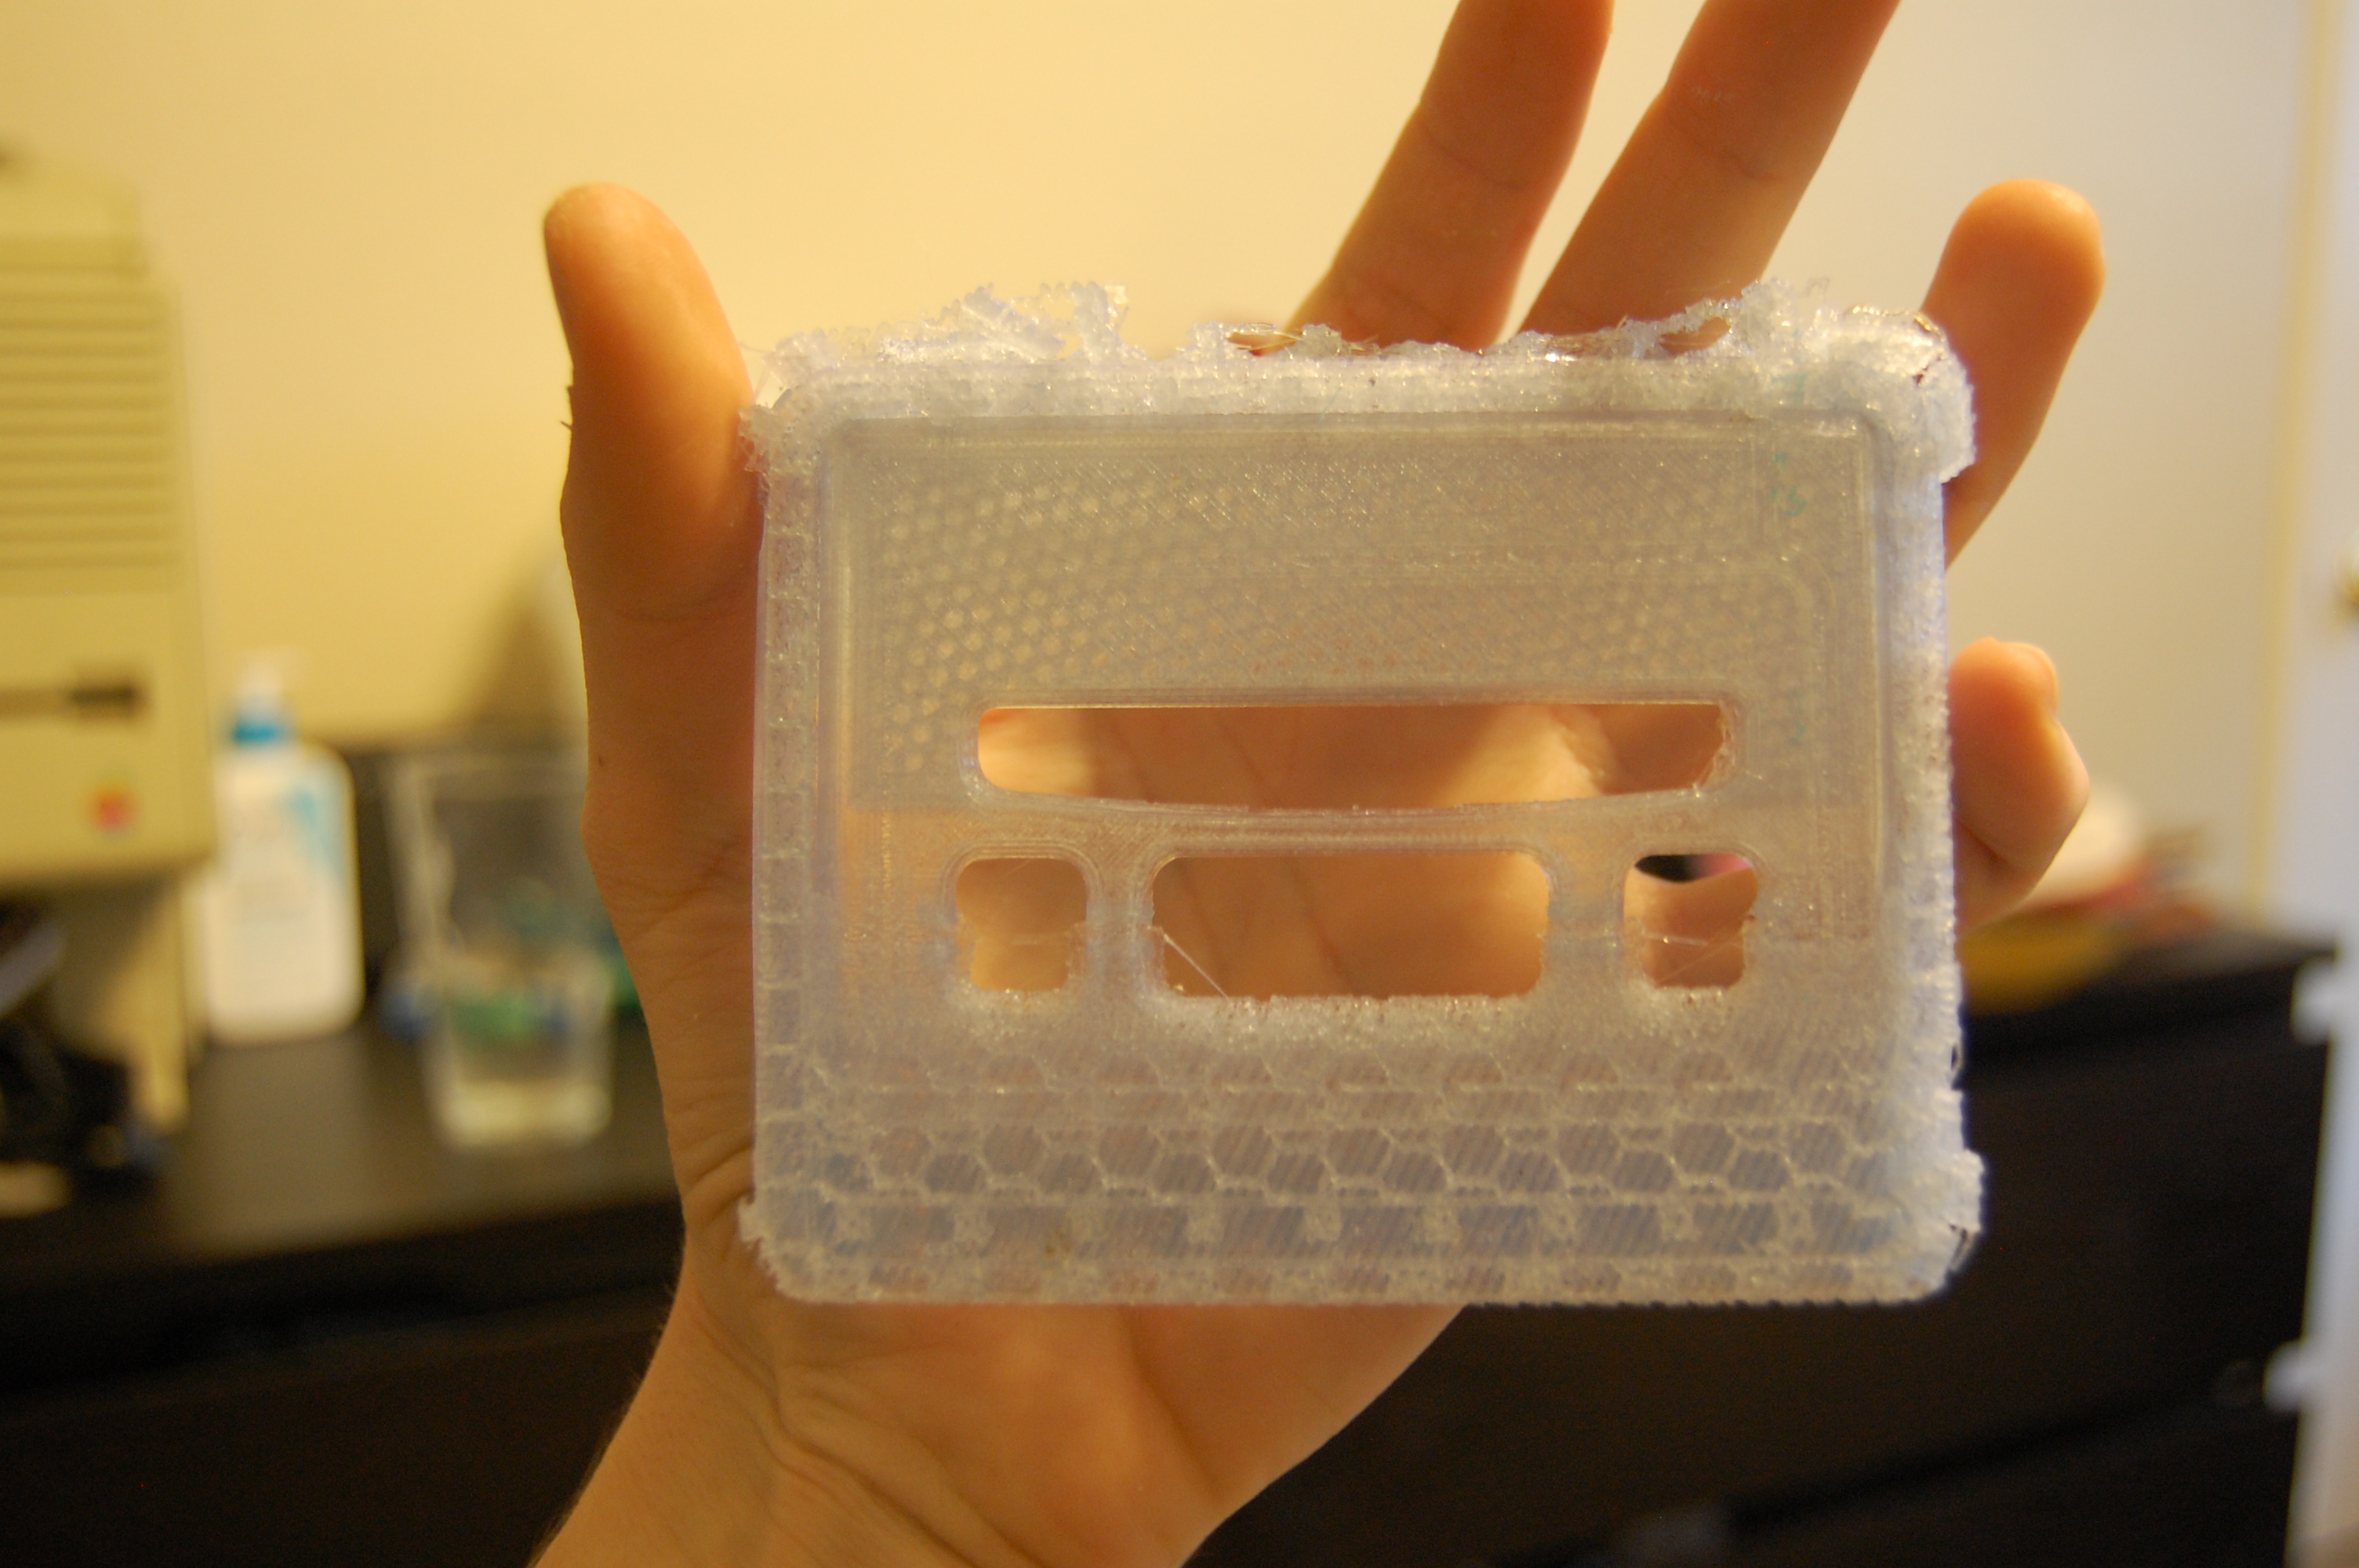
The next step was designing a case. I’ve always admired the subtle curves of the Super Famicom, so that’s what I designed the case around. With Autodesk Inventor at my side, I jumped on the computer and worked for hours on end designing a case which would make even the late Gunpei Yokoi proud. Except, it wasn’t that simple. See, when I began designing the case, I didn’t actually have the Raspberry Pi at hand; it was being sent by the wonderful people at Amazon. So, by using a combination of technical drawings supplied by the Raspberry Pi team, as well as designs from other Raspberry Pi cases, I got to work on making some mock-ups for a series of ultimately unsuccessful case designs. The problem with designing for something that you don’t yet have is the simple fact that you do not yet have it, and therefore are unable to take measurements. Sure, technical drawings are great, but they’re nothing compared to having a physical product to design around. Because of that, my case had ports which were drawn sometimes too large, too small, or just in the wrong spot.
stacks of wasted plastic–prototyping at its finest
3D printing is great (but you already know that). With just a bit of occasional tweaking, you can bring your own designs into the physical world without having to pay much out of pocket to a far away company to injection mold hundreds of designs from files with the wrong dimensions. Even though I wasted probably a quarter of a spool of filament in testing designs for dimensional accuracy, it was a great use of plastic, as it let me actually hold a model which once lived on my hard drive. It allowed me to endlessly refine my designs, until I made one which would actually fit the Pi. And once I did, I was so so so happy, because it meant that my hours of work actually payed off.
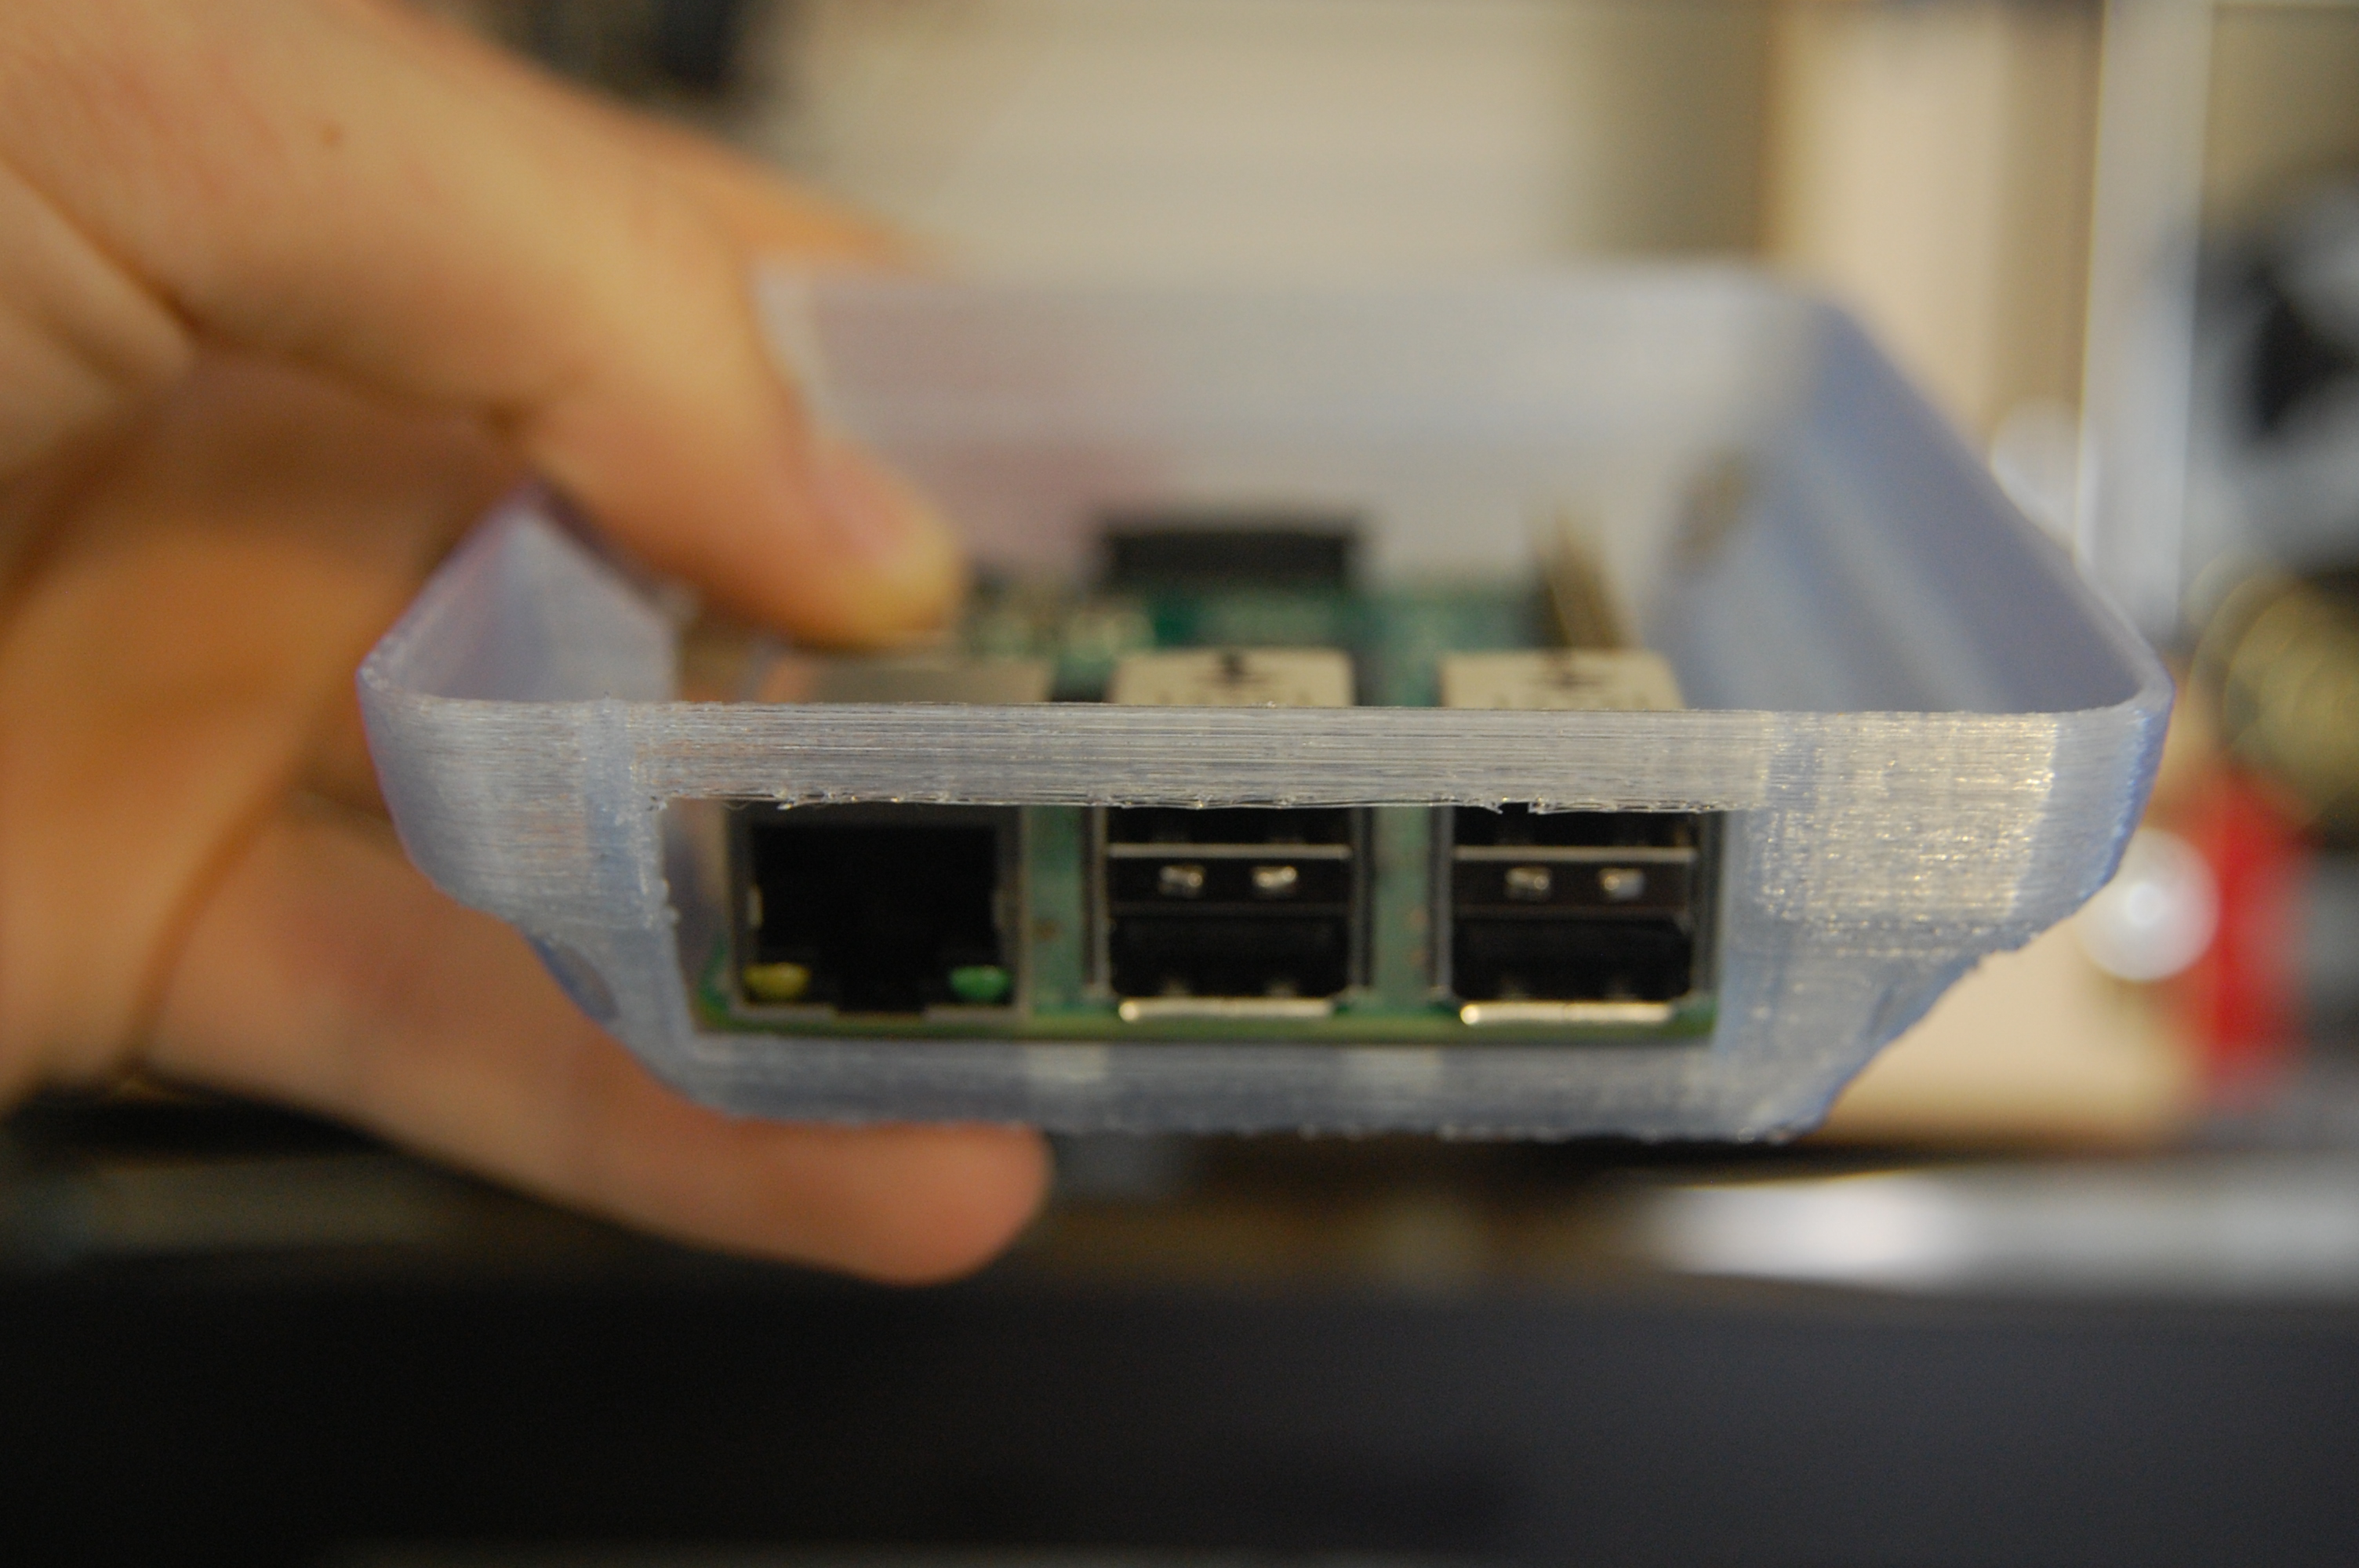
the case whose cutouts are in the right spotI can’t stop admiring this beauty
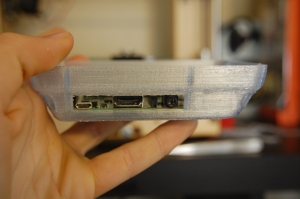
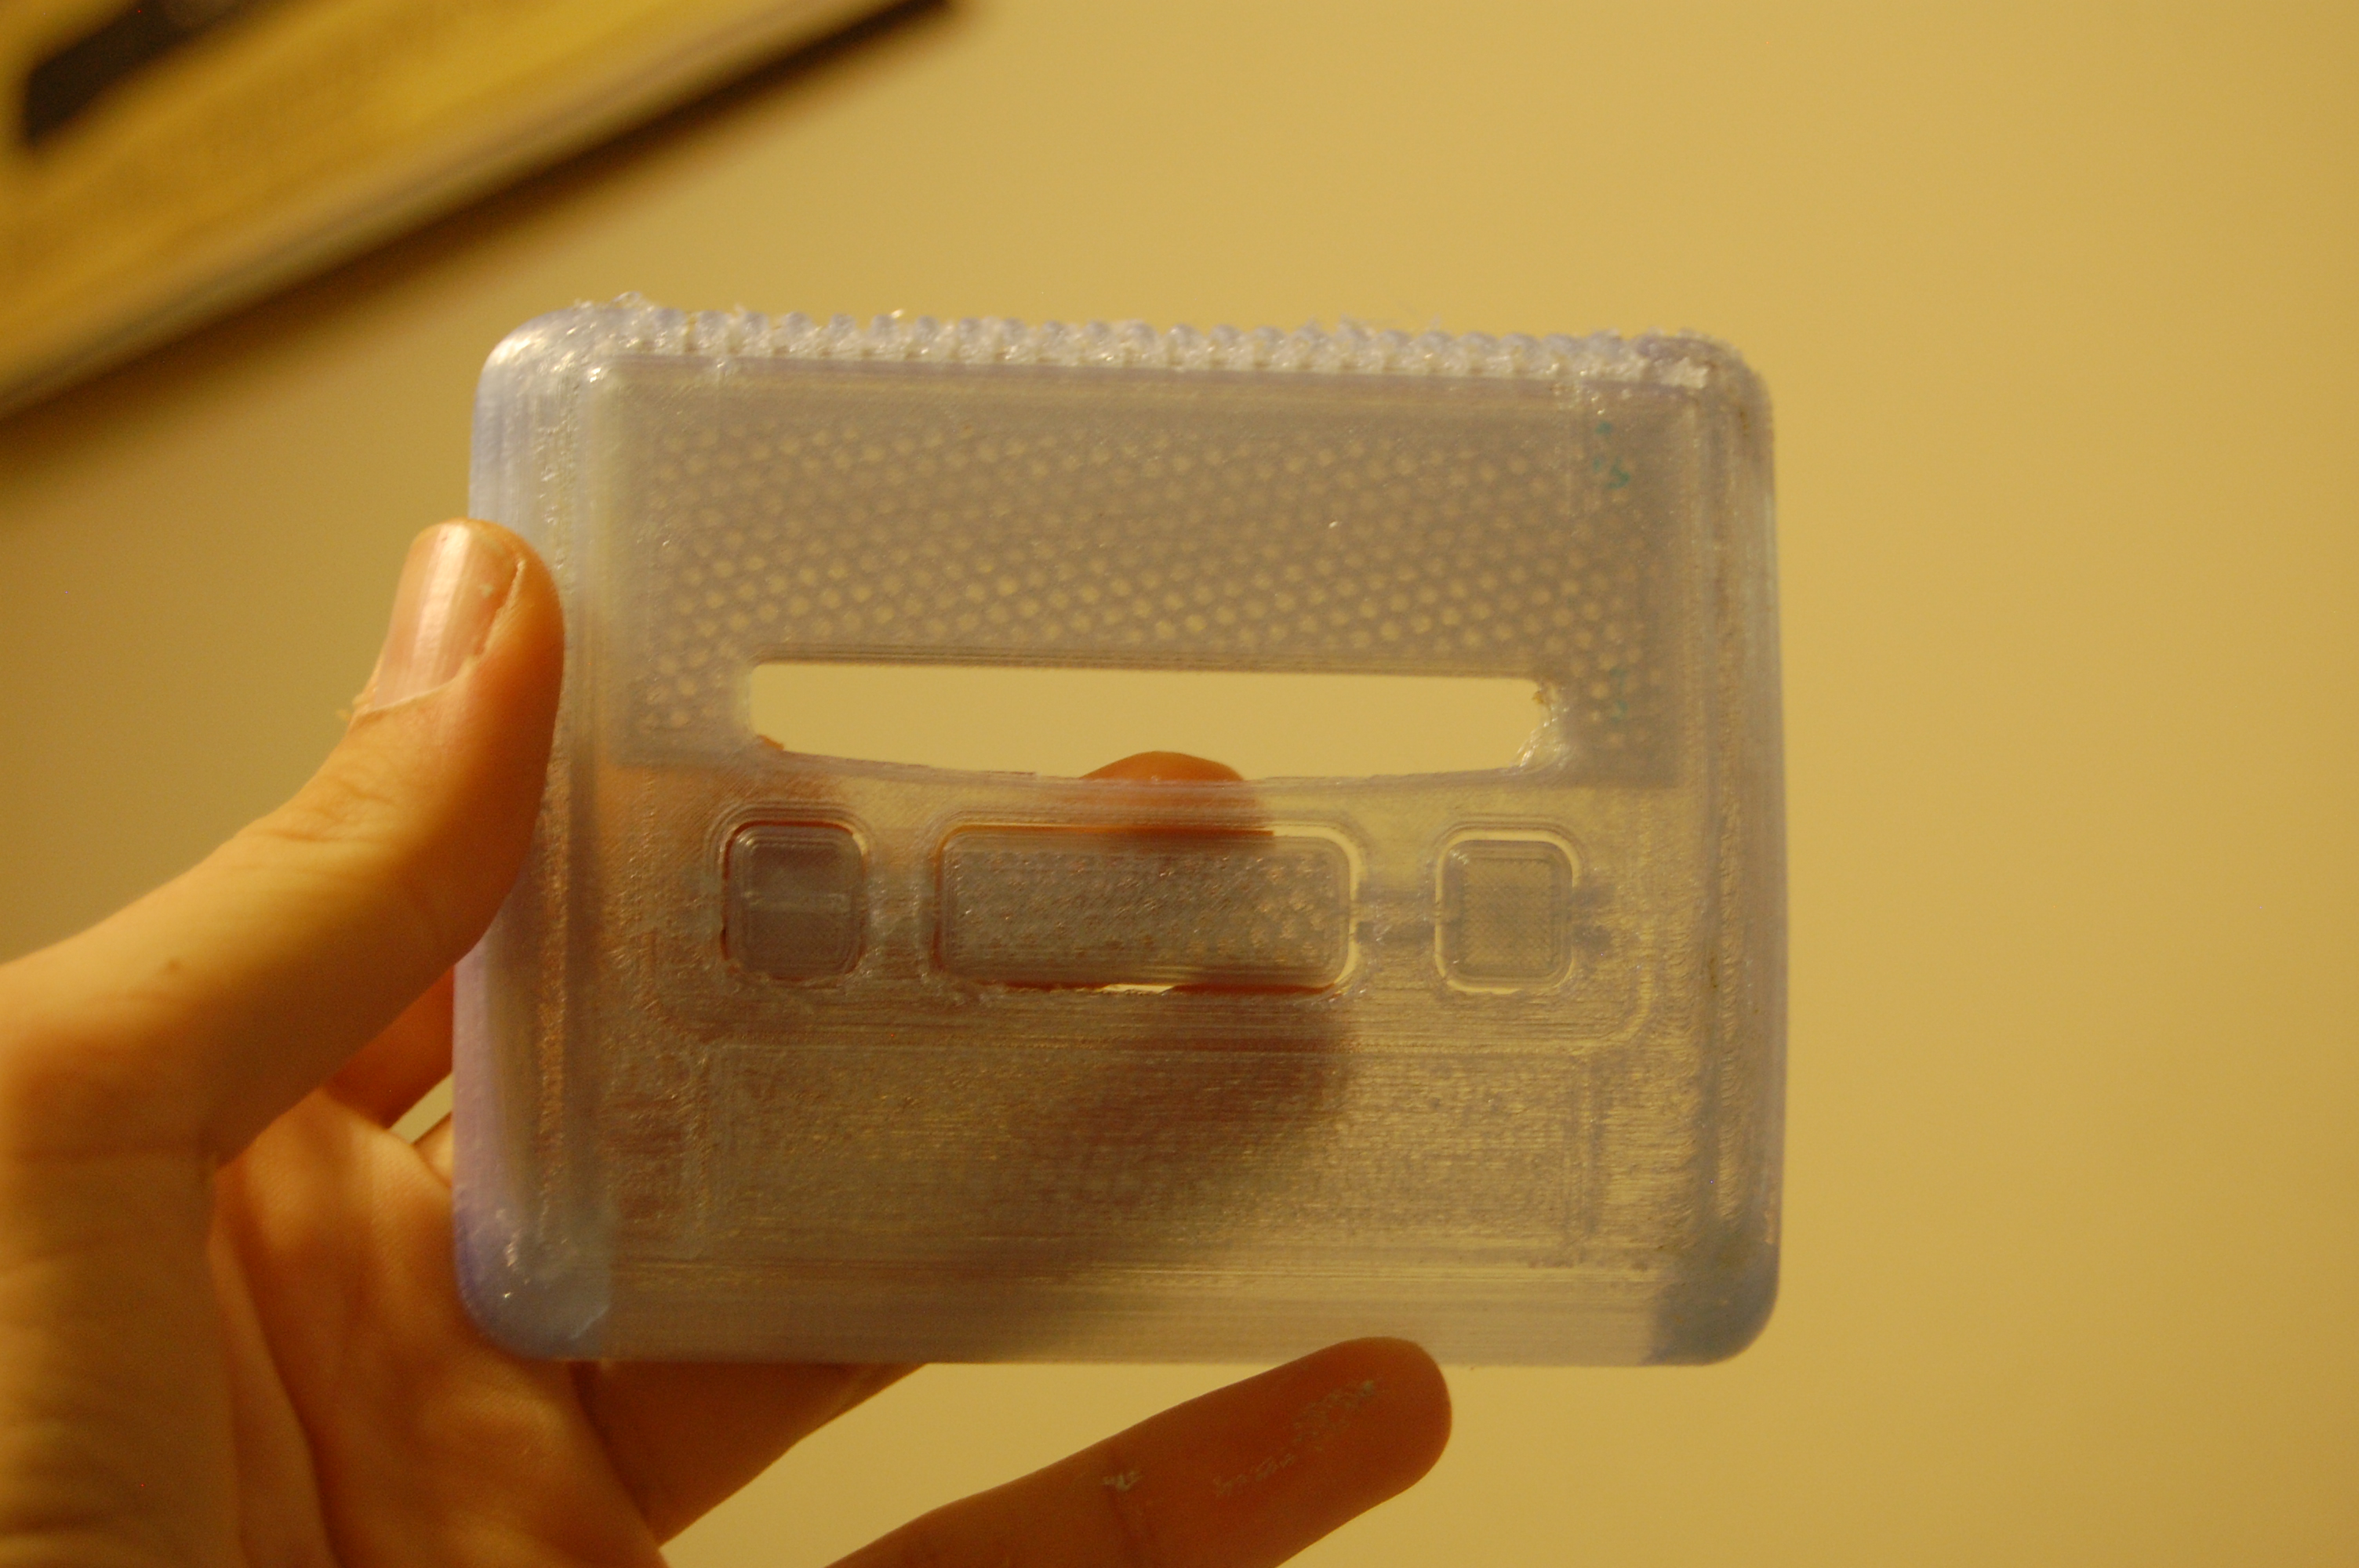
But that was just the bottom half of the shell, which means it’s time to move onto the top half. You would expect this process to go much smoother, as there are no openings for ports which inevitably end up in the wrong spot. But, you’ll be happy to hear that the top portion
there’s more where that came from
was just as challenging as the bottom. There were screw holes to line up (for connecting the two halves together), which were a bit of a challenge, but the most difficult part, by far, was dealing with the curves found on the Super Famicom’s design. Curves. The curves, man–the epitome of all annoyances found in Autodesk Inventor. I was close to 90% sure that the people at Autodesk were out to get me–that is, until I discovered the sweep tool, which allowed me to add in all the curves and angles I could ever want.
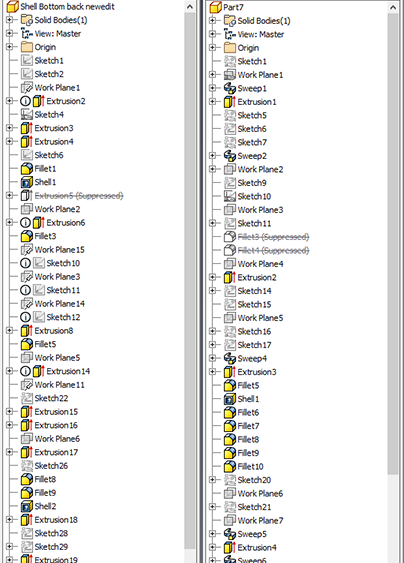
A constant issue I dealt with in designing the case for my petite PC was the fact that, from time to time, I had no idea what I was doing in Inventor. This meant that, in my designs, there were numerous unused sketches, as I would draw something, forget about it, and draw it again. Call it stupidity, call it inexperience, I call it a pretty major annoyance. In the end, I managed to clean up the models a bit by hiding the unused sketches.
After the hours spent modeling, I was surprised to print something which actually met my expectations. Sure, it was a bit difficult to print because of the support material (curves!!) which I had to painstakingly cut off. Regardless, I was happy with the prints using my Prusa i3, .15 mm layer height, and 50 mm/sec printing speed.
before removing support materialafter removing support material
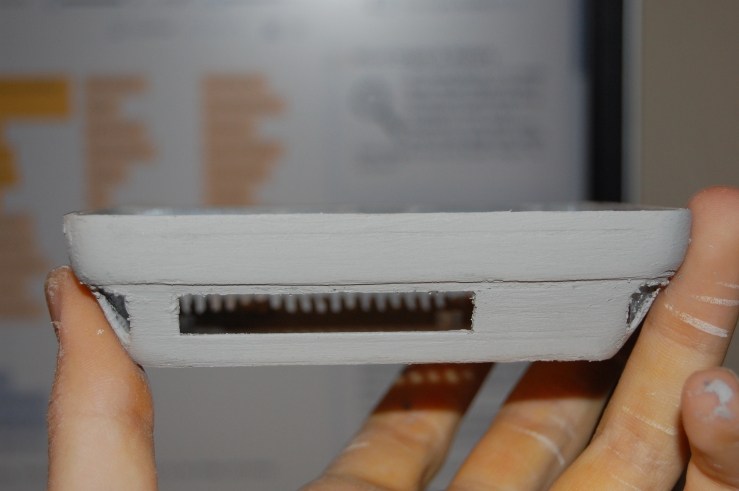
Now that we have the case sorted, it’s time to get painting. The first step in this process was attempting to sand the prints. Had I printed in ABS, this process would have probably gone much quicker. But because of ABS’s numerous inherent flaws (warping, fumes, etc.), and because my hotend simply is incapable of safely reaching the temperatures necessary to print with this material, PLA was used. This caused some issues in sanding. See, PLA really really does not like to be sanded. In order to achieve the sorts of results I wanted, I switched to the coat-sand-coat method which, while exponentially more time consuming, seemed to work at least somewhat decently. This was a long process indeed. Using acrylic paint, I began this tedious process, but after a few coats of paint and sanding, the print began to look significantly more smooth.

 The other day, my dad comes in my room, urgency in his voice, and worried eyes that told me more than just something was wrong. He bursts through the door, a single tear streaming down his hardened jawline. In a defeated tone, he tells me, “Son. I have a project.”